
J/70 US to euro rudder conversion


Below is a guide on converting a US J/70 rudder to accept European rudder hardware.
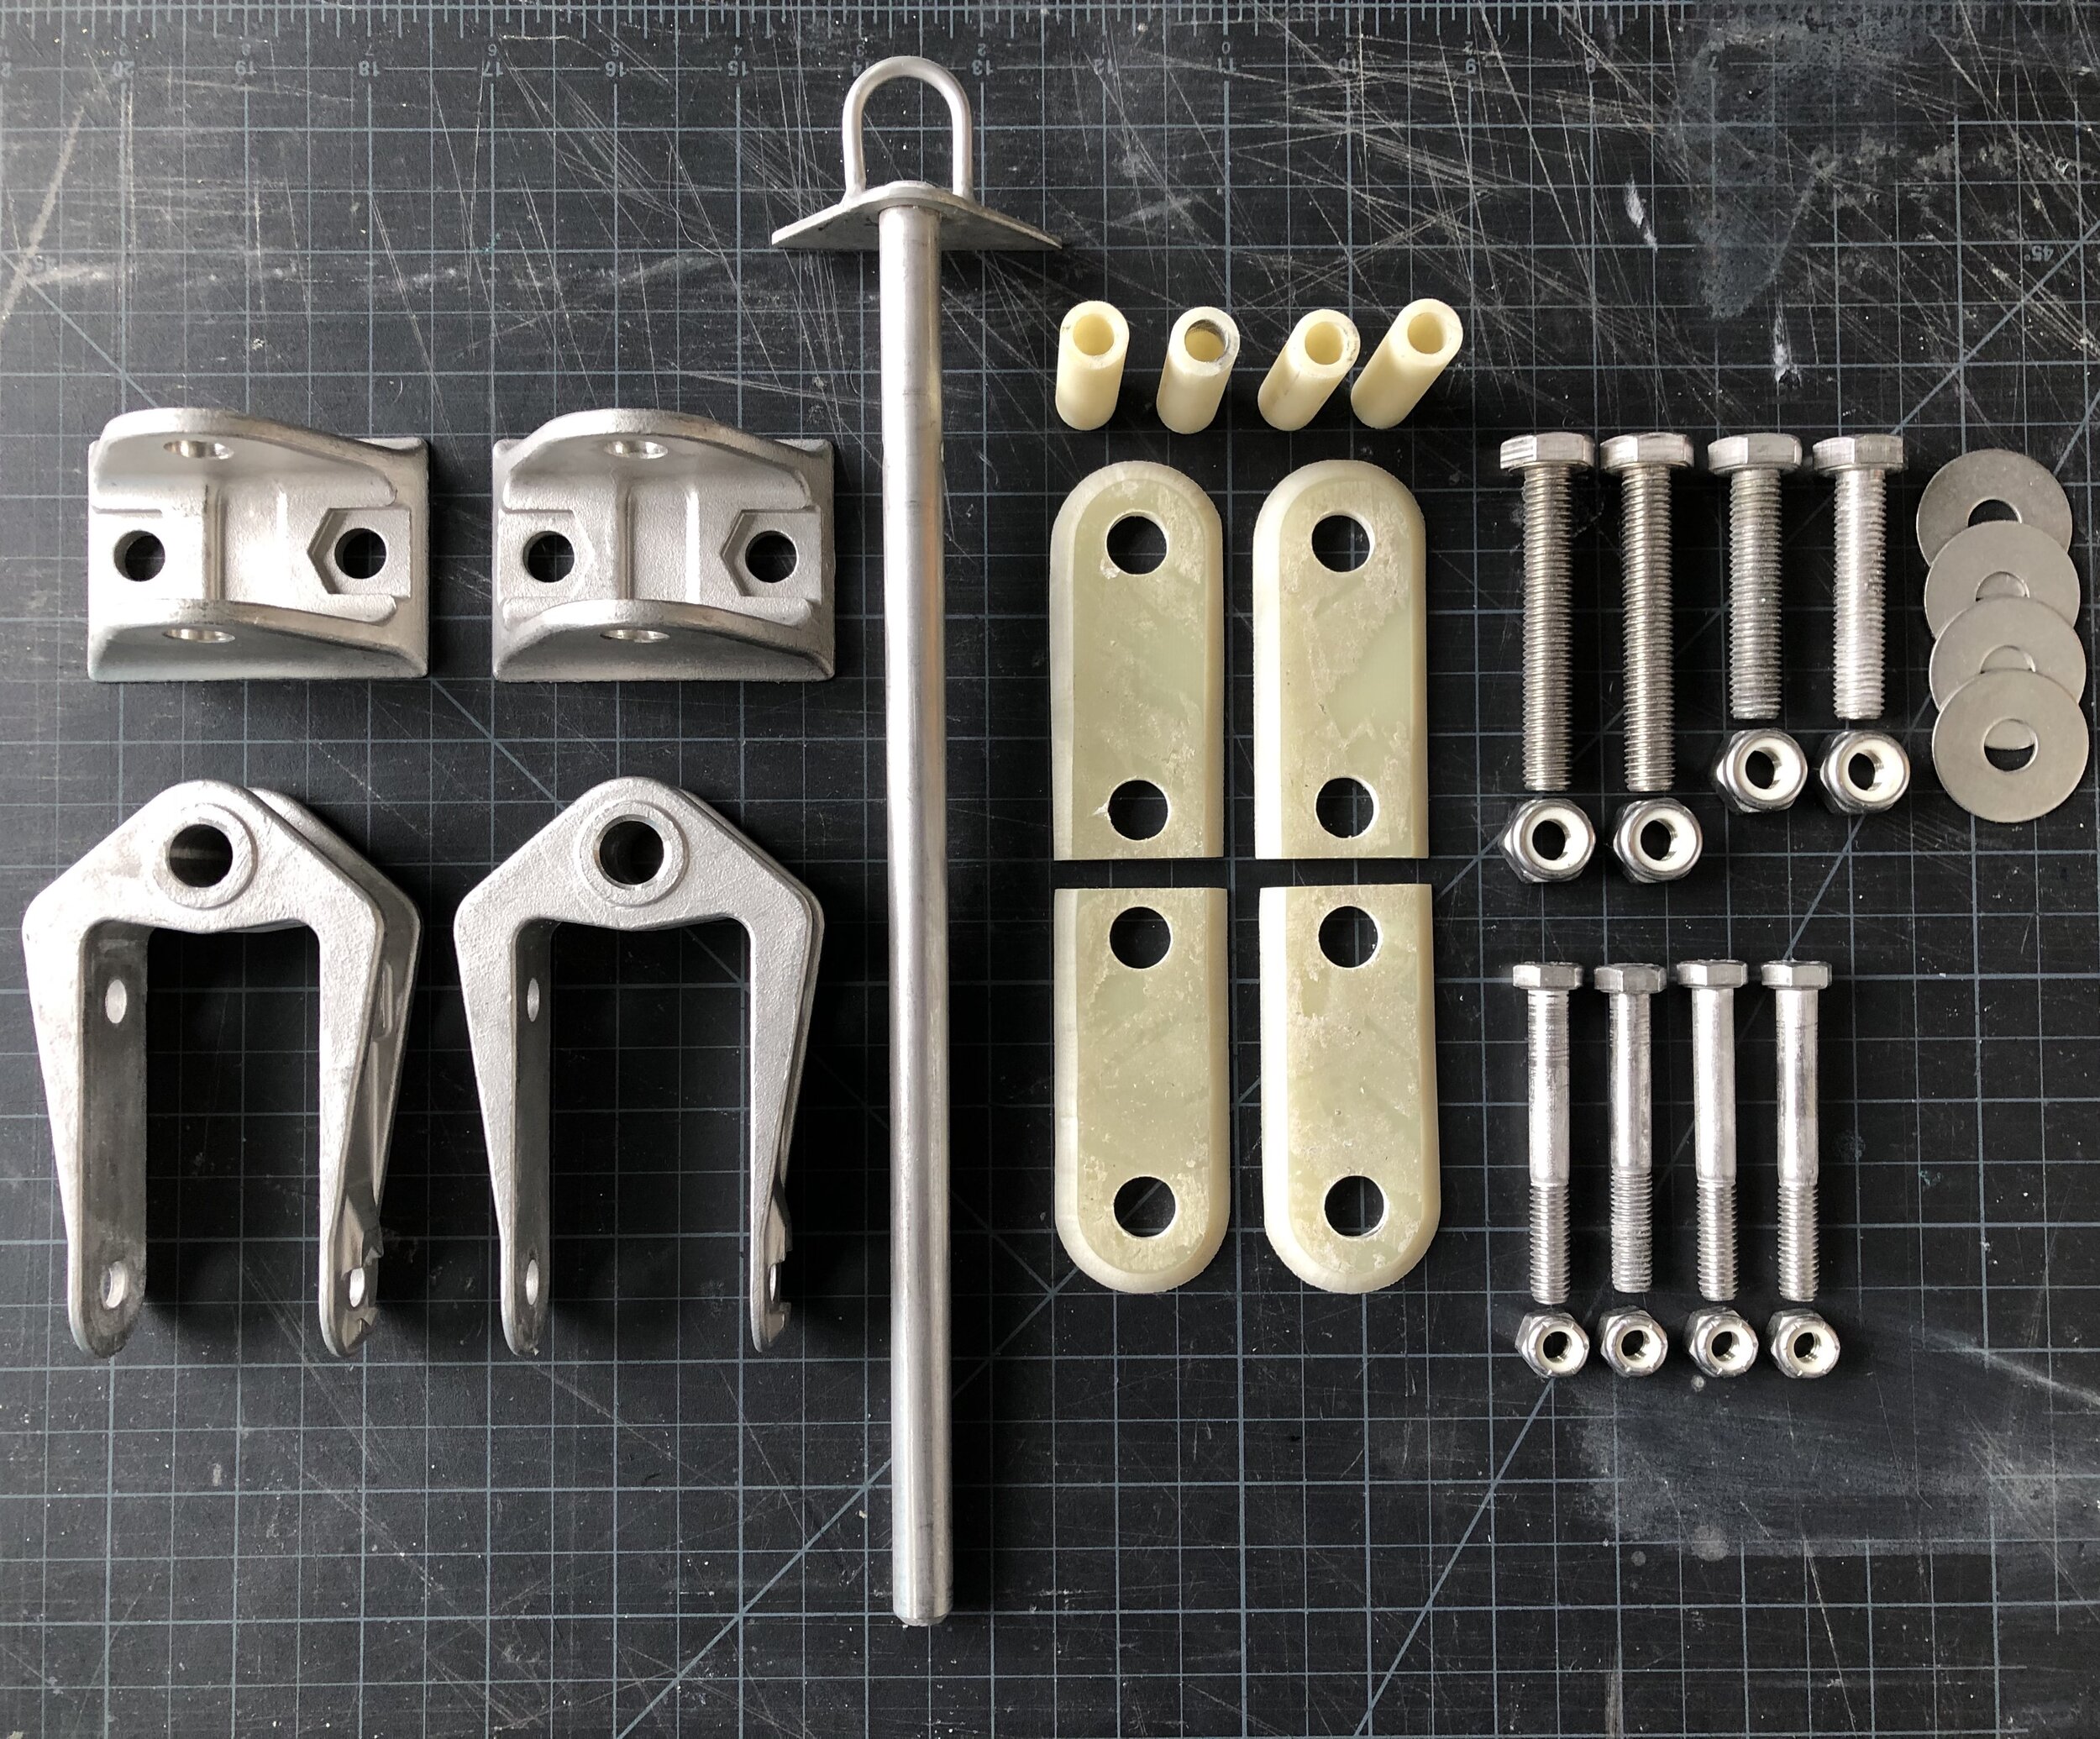
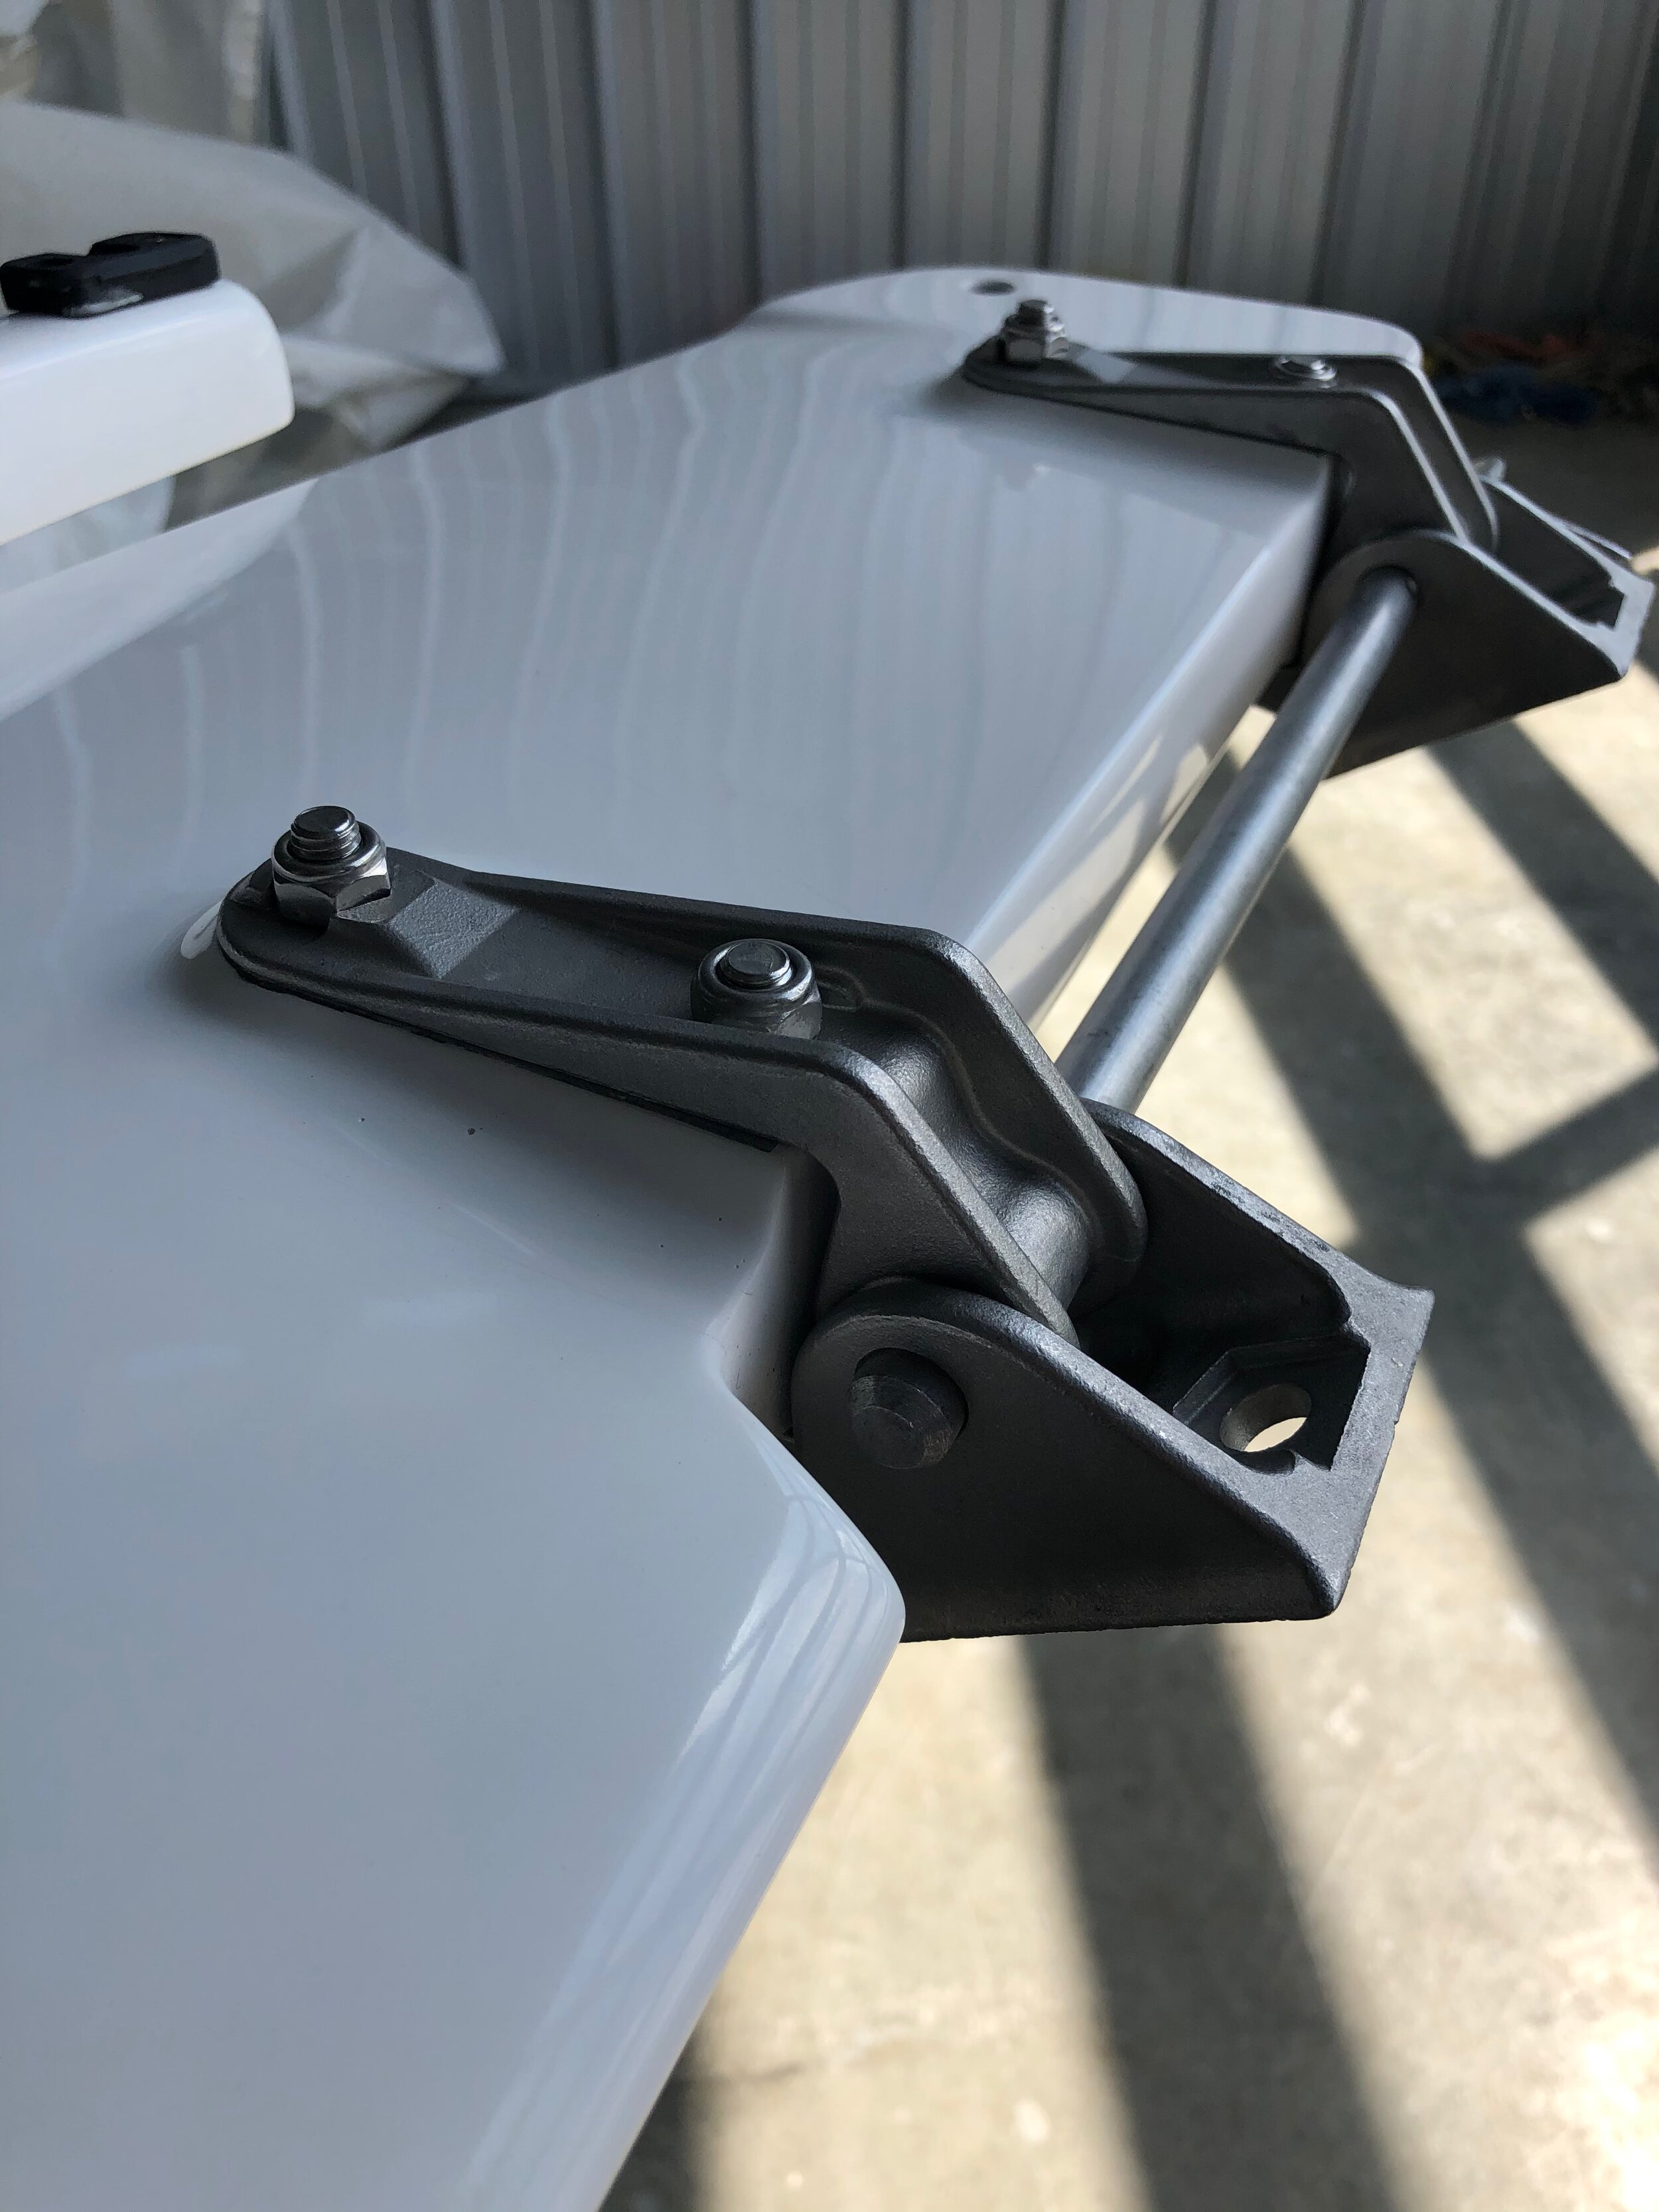
The thickness of the rudder head on the European rudders is significantly greater than the US rudder. Additionally, the European rudder straps only use two centered bolts opposed to the three off-center bolts found on US straps.
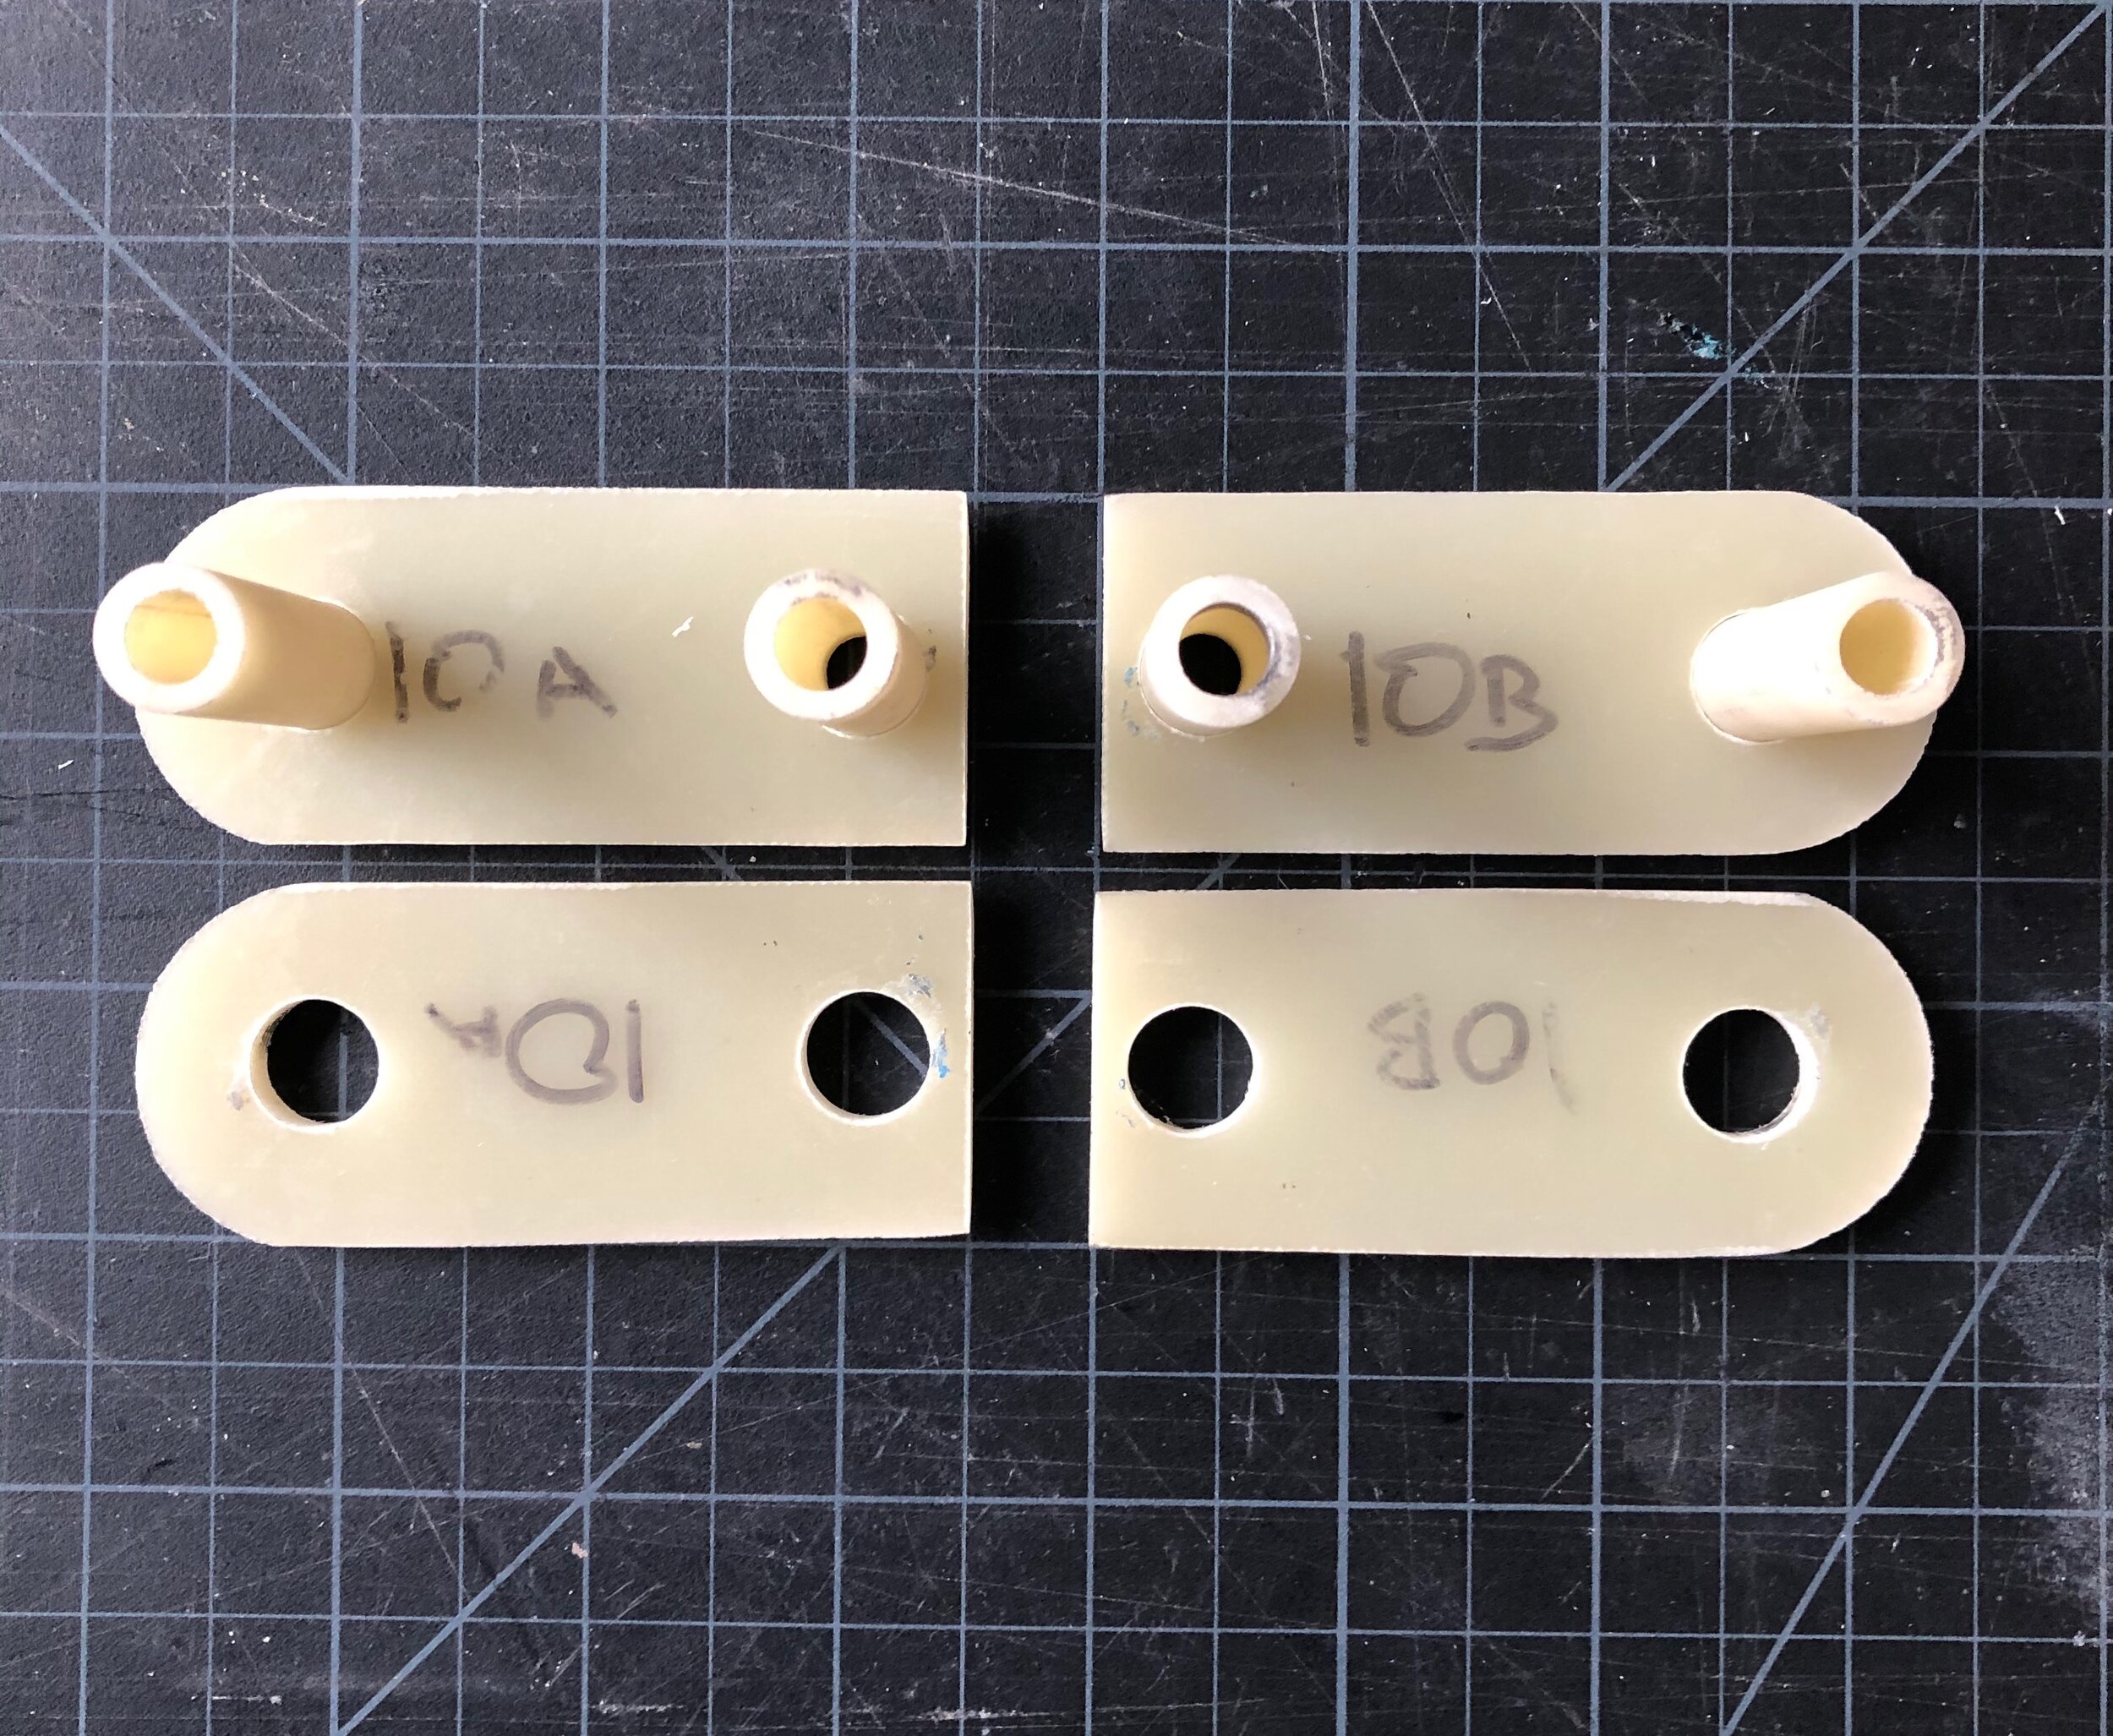
To overcome the thickness issue, G10 plates need to be added to the rudder where the rudder straps attach. The current holes also need to be filled in and re-drilled to the new hole pattern.
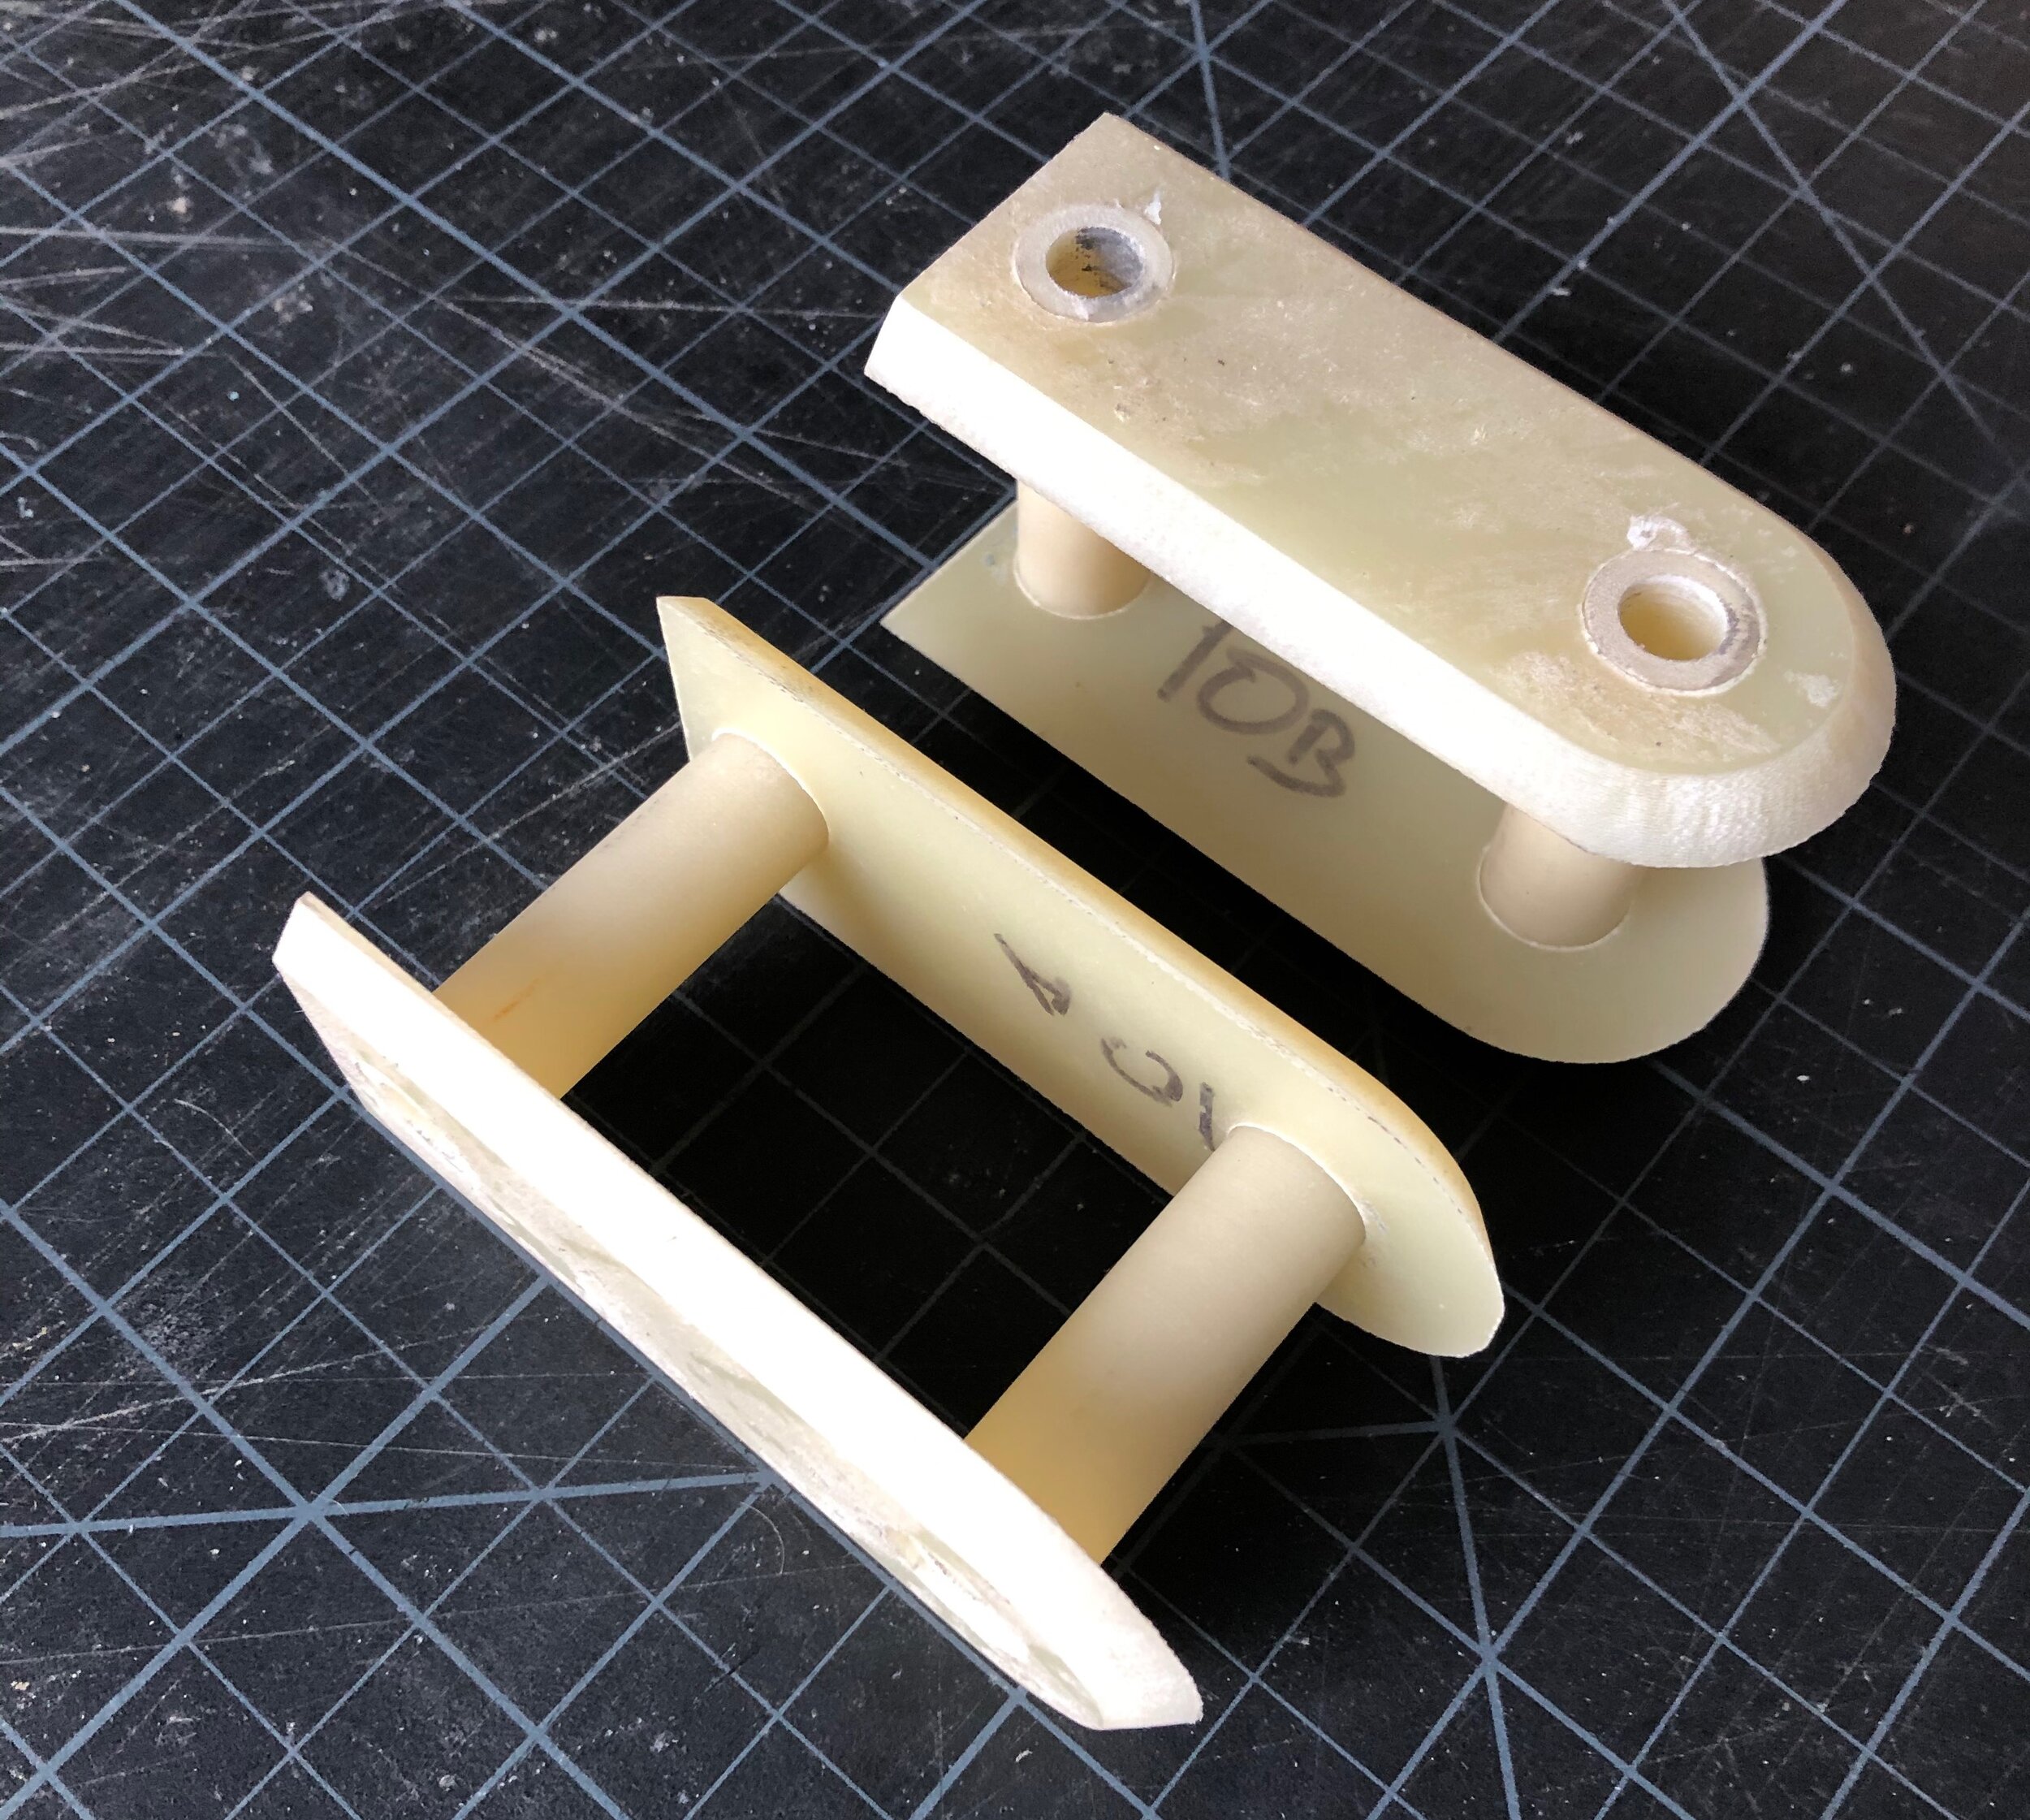
To increase strength, G10 tubes are added between the G10 mounting plates,
Filling Old Holes
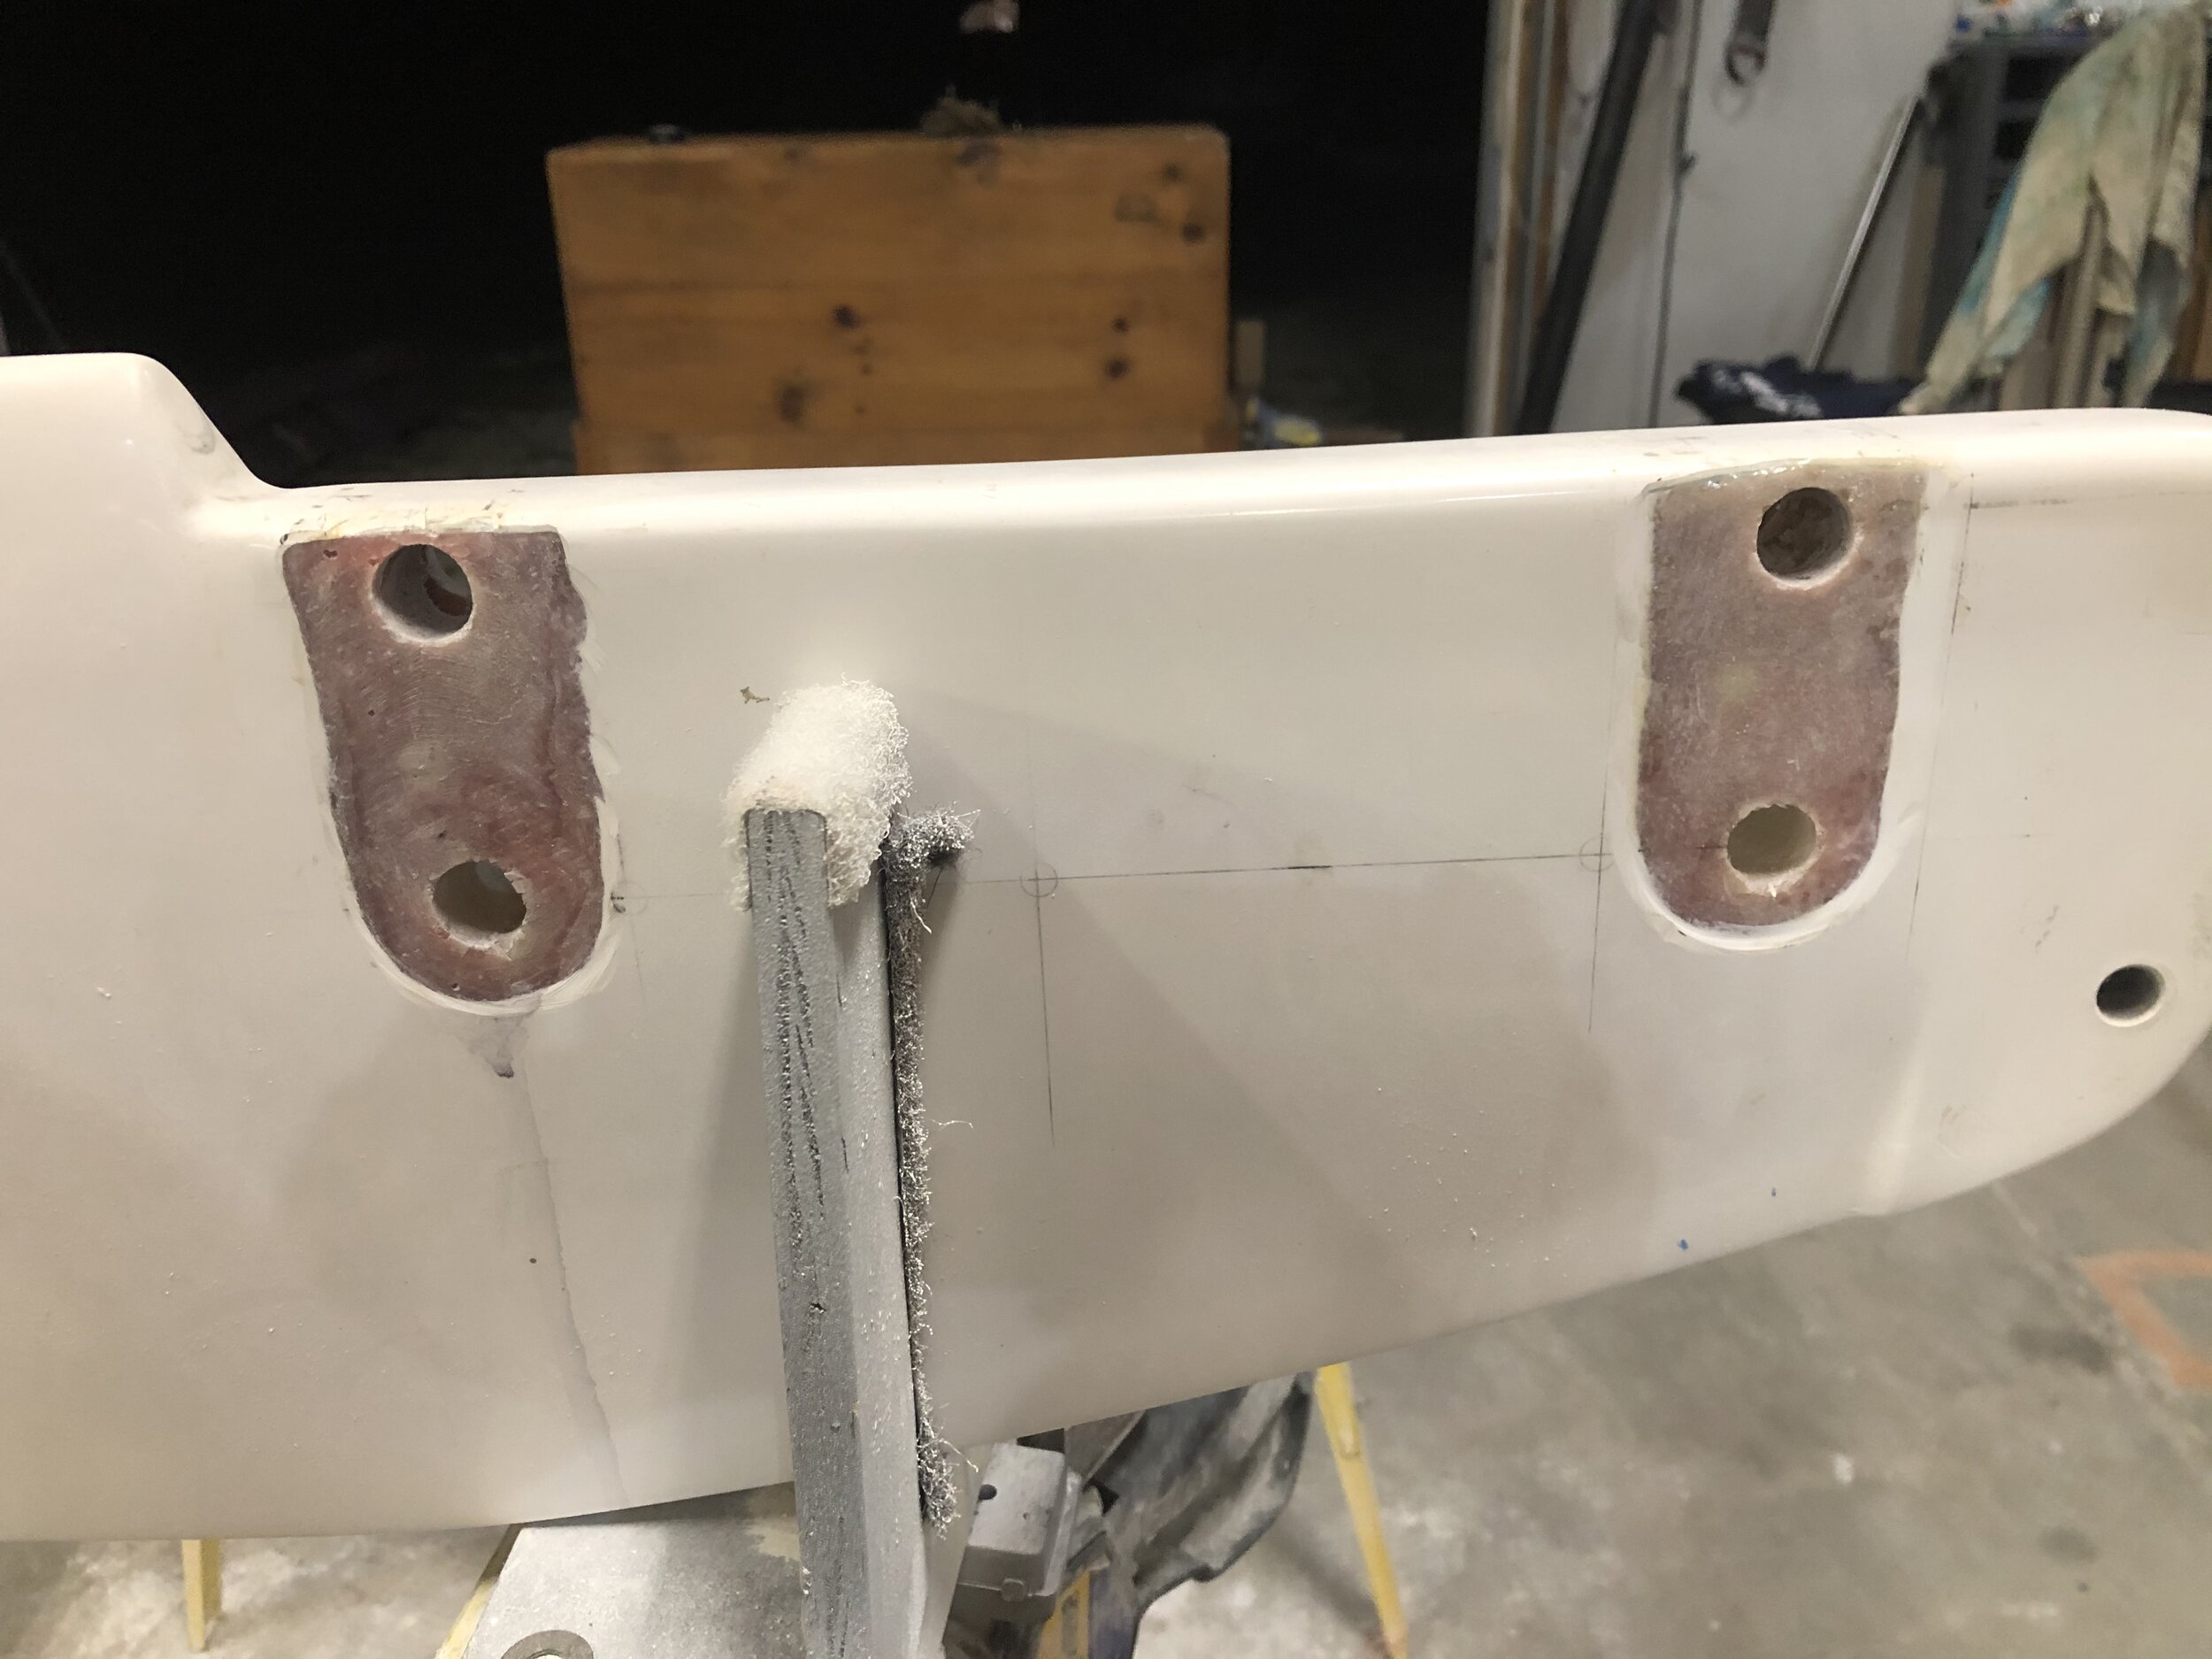
First step is to figure out where the G10 plates will go, and grind that area down to the fiberglass.
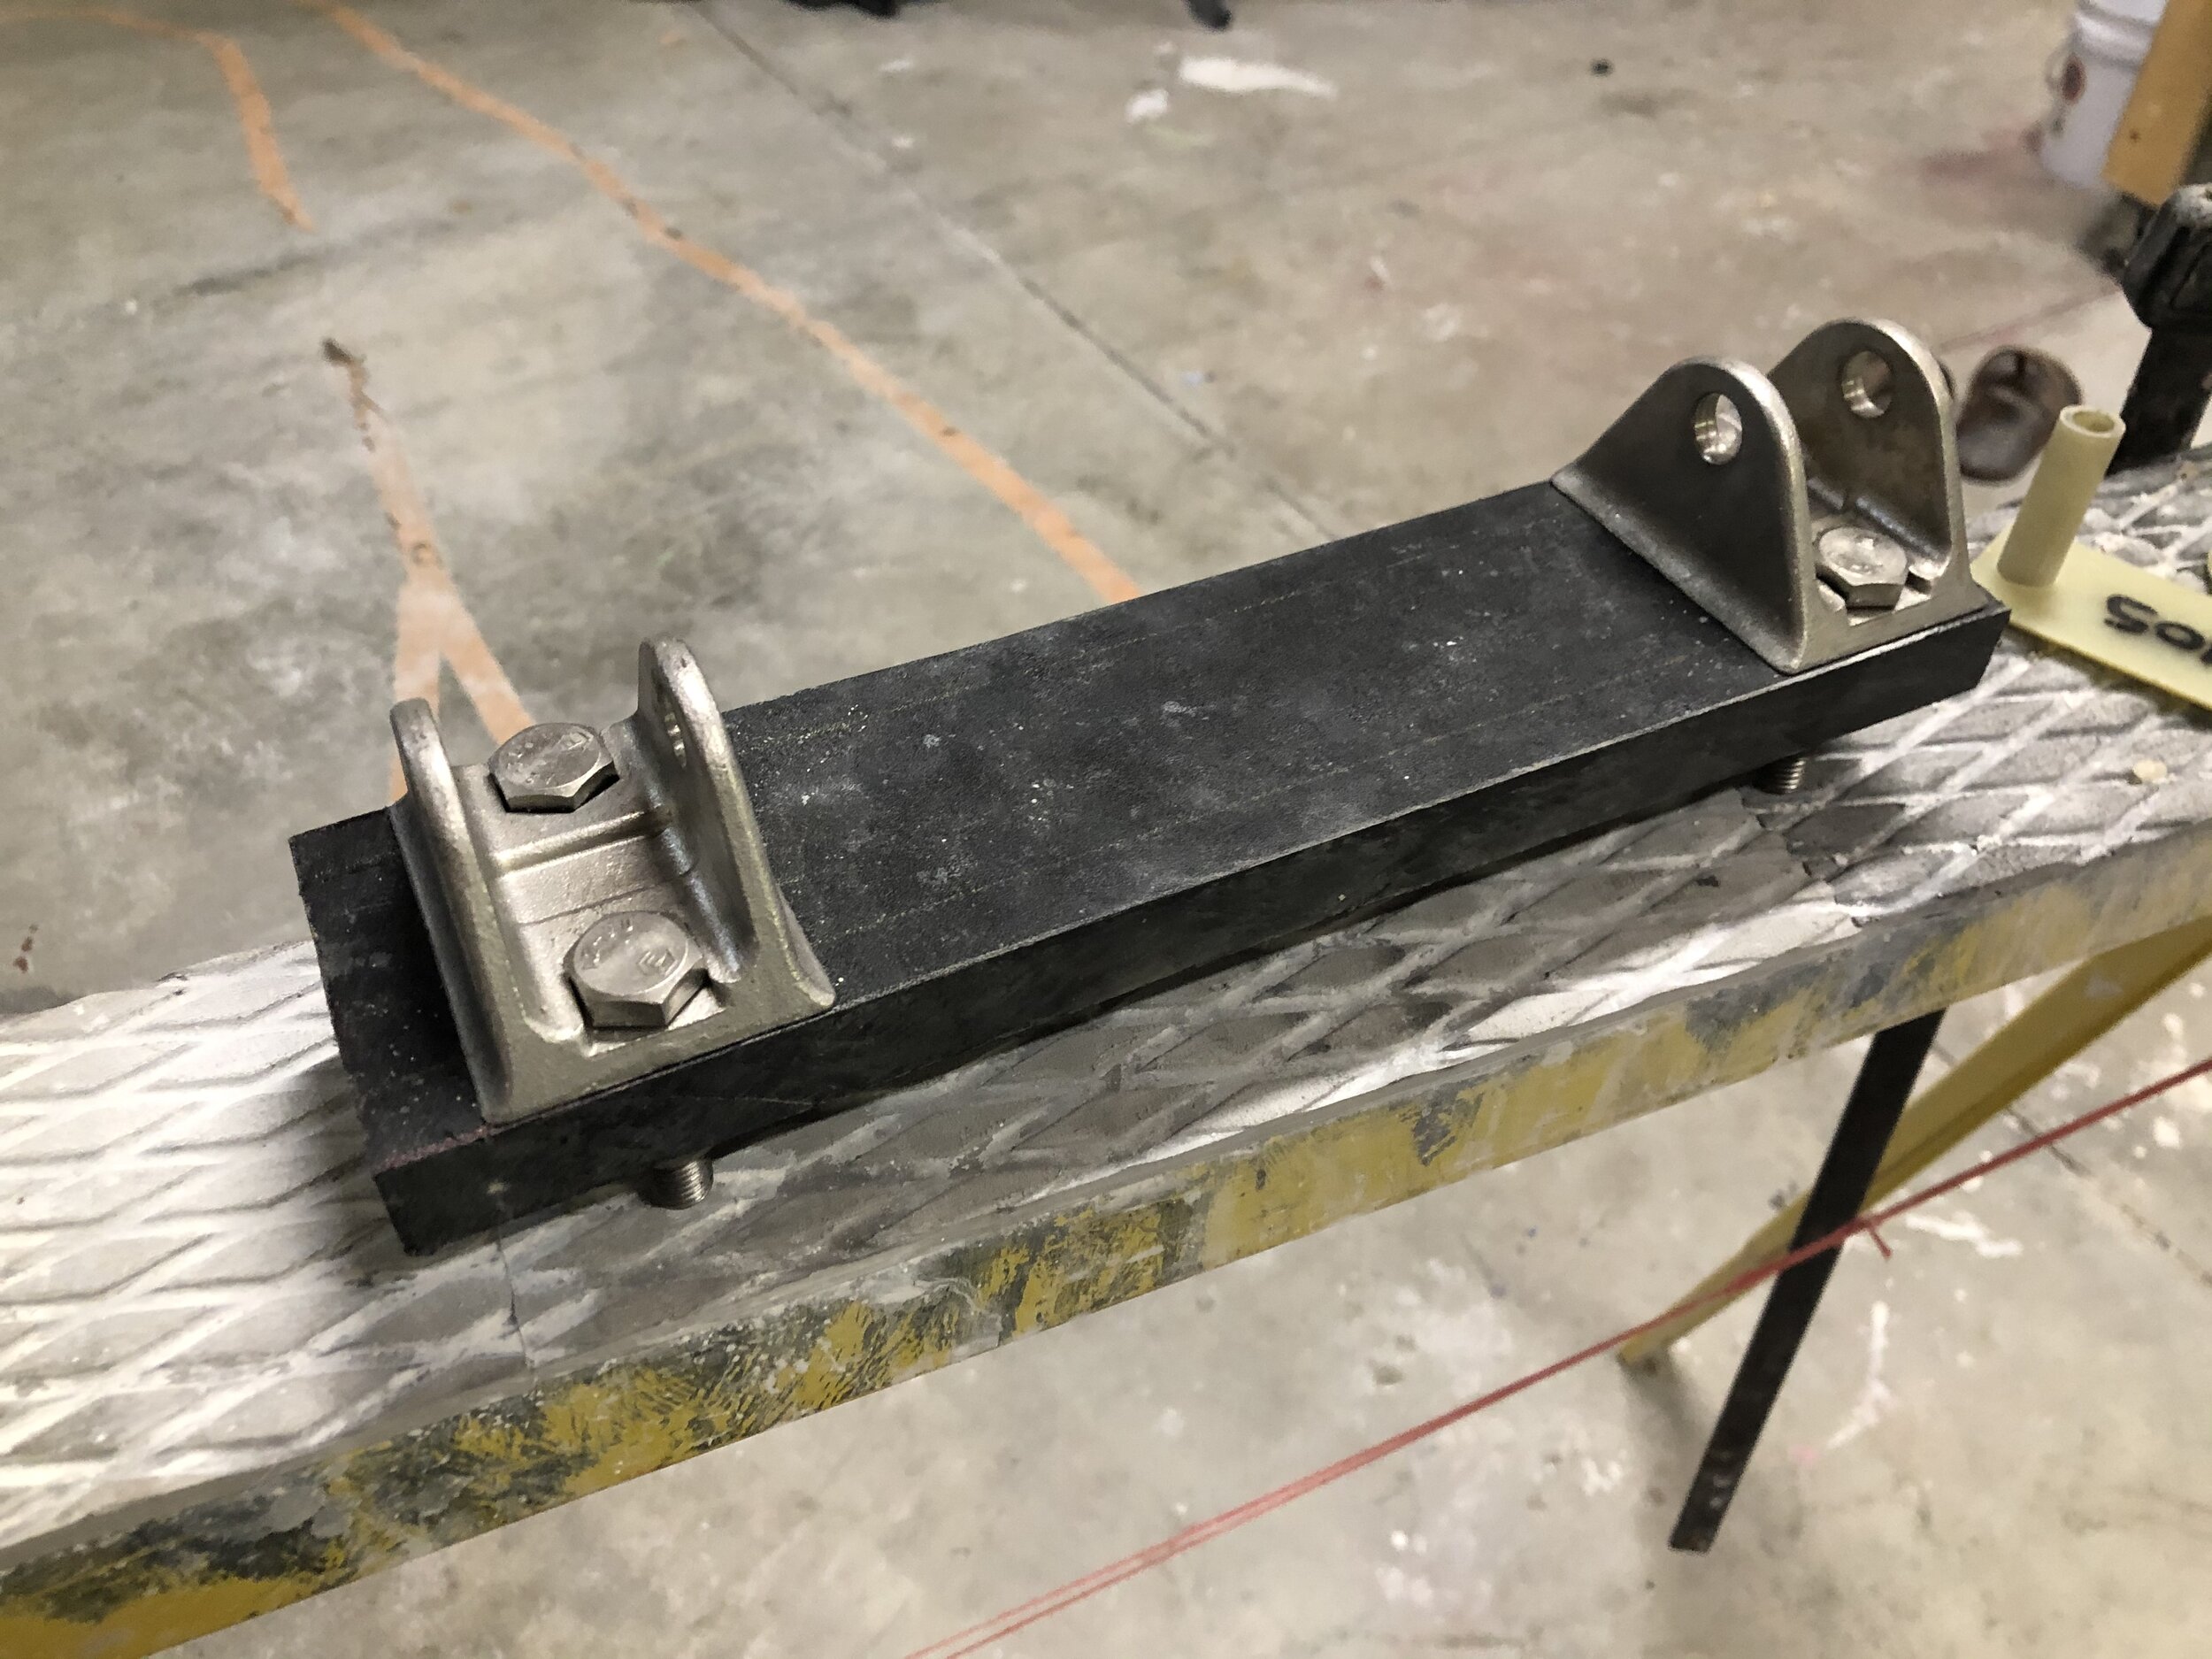
The easiest way to keep everything aligned through the process, is to create a mounting jig. On the back of the boat, remove the existing rudder gudgeons, and measure the distance between the holes. On a piece of board (in this case I used starboard) mount the new gudgeons to match the hole distance.
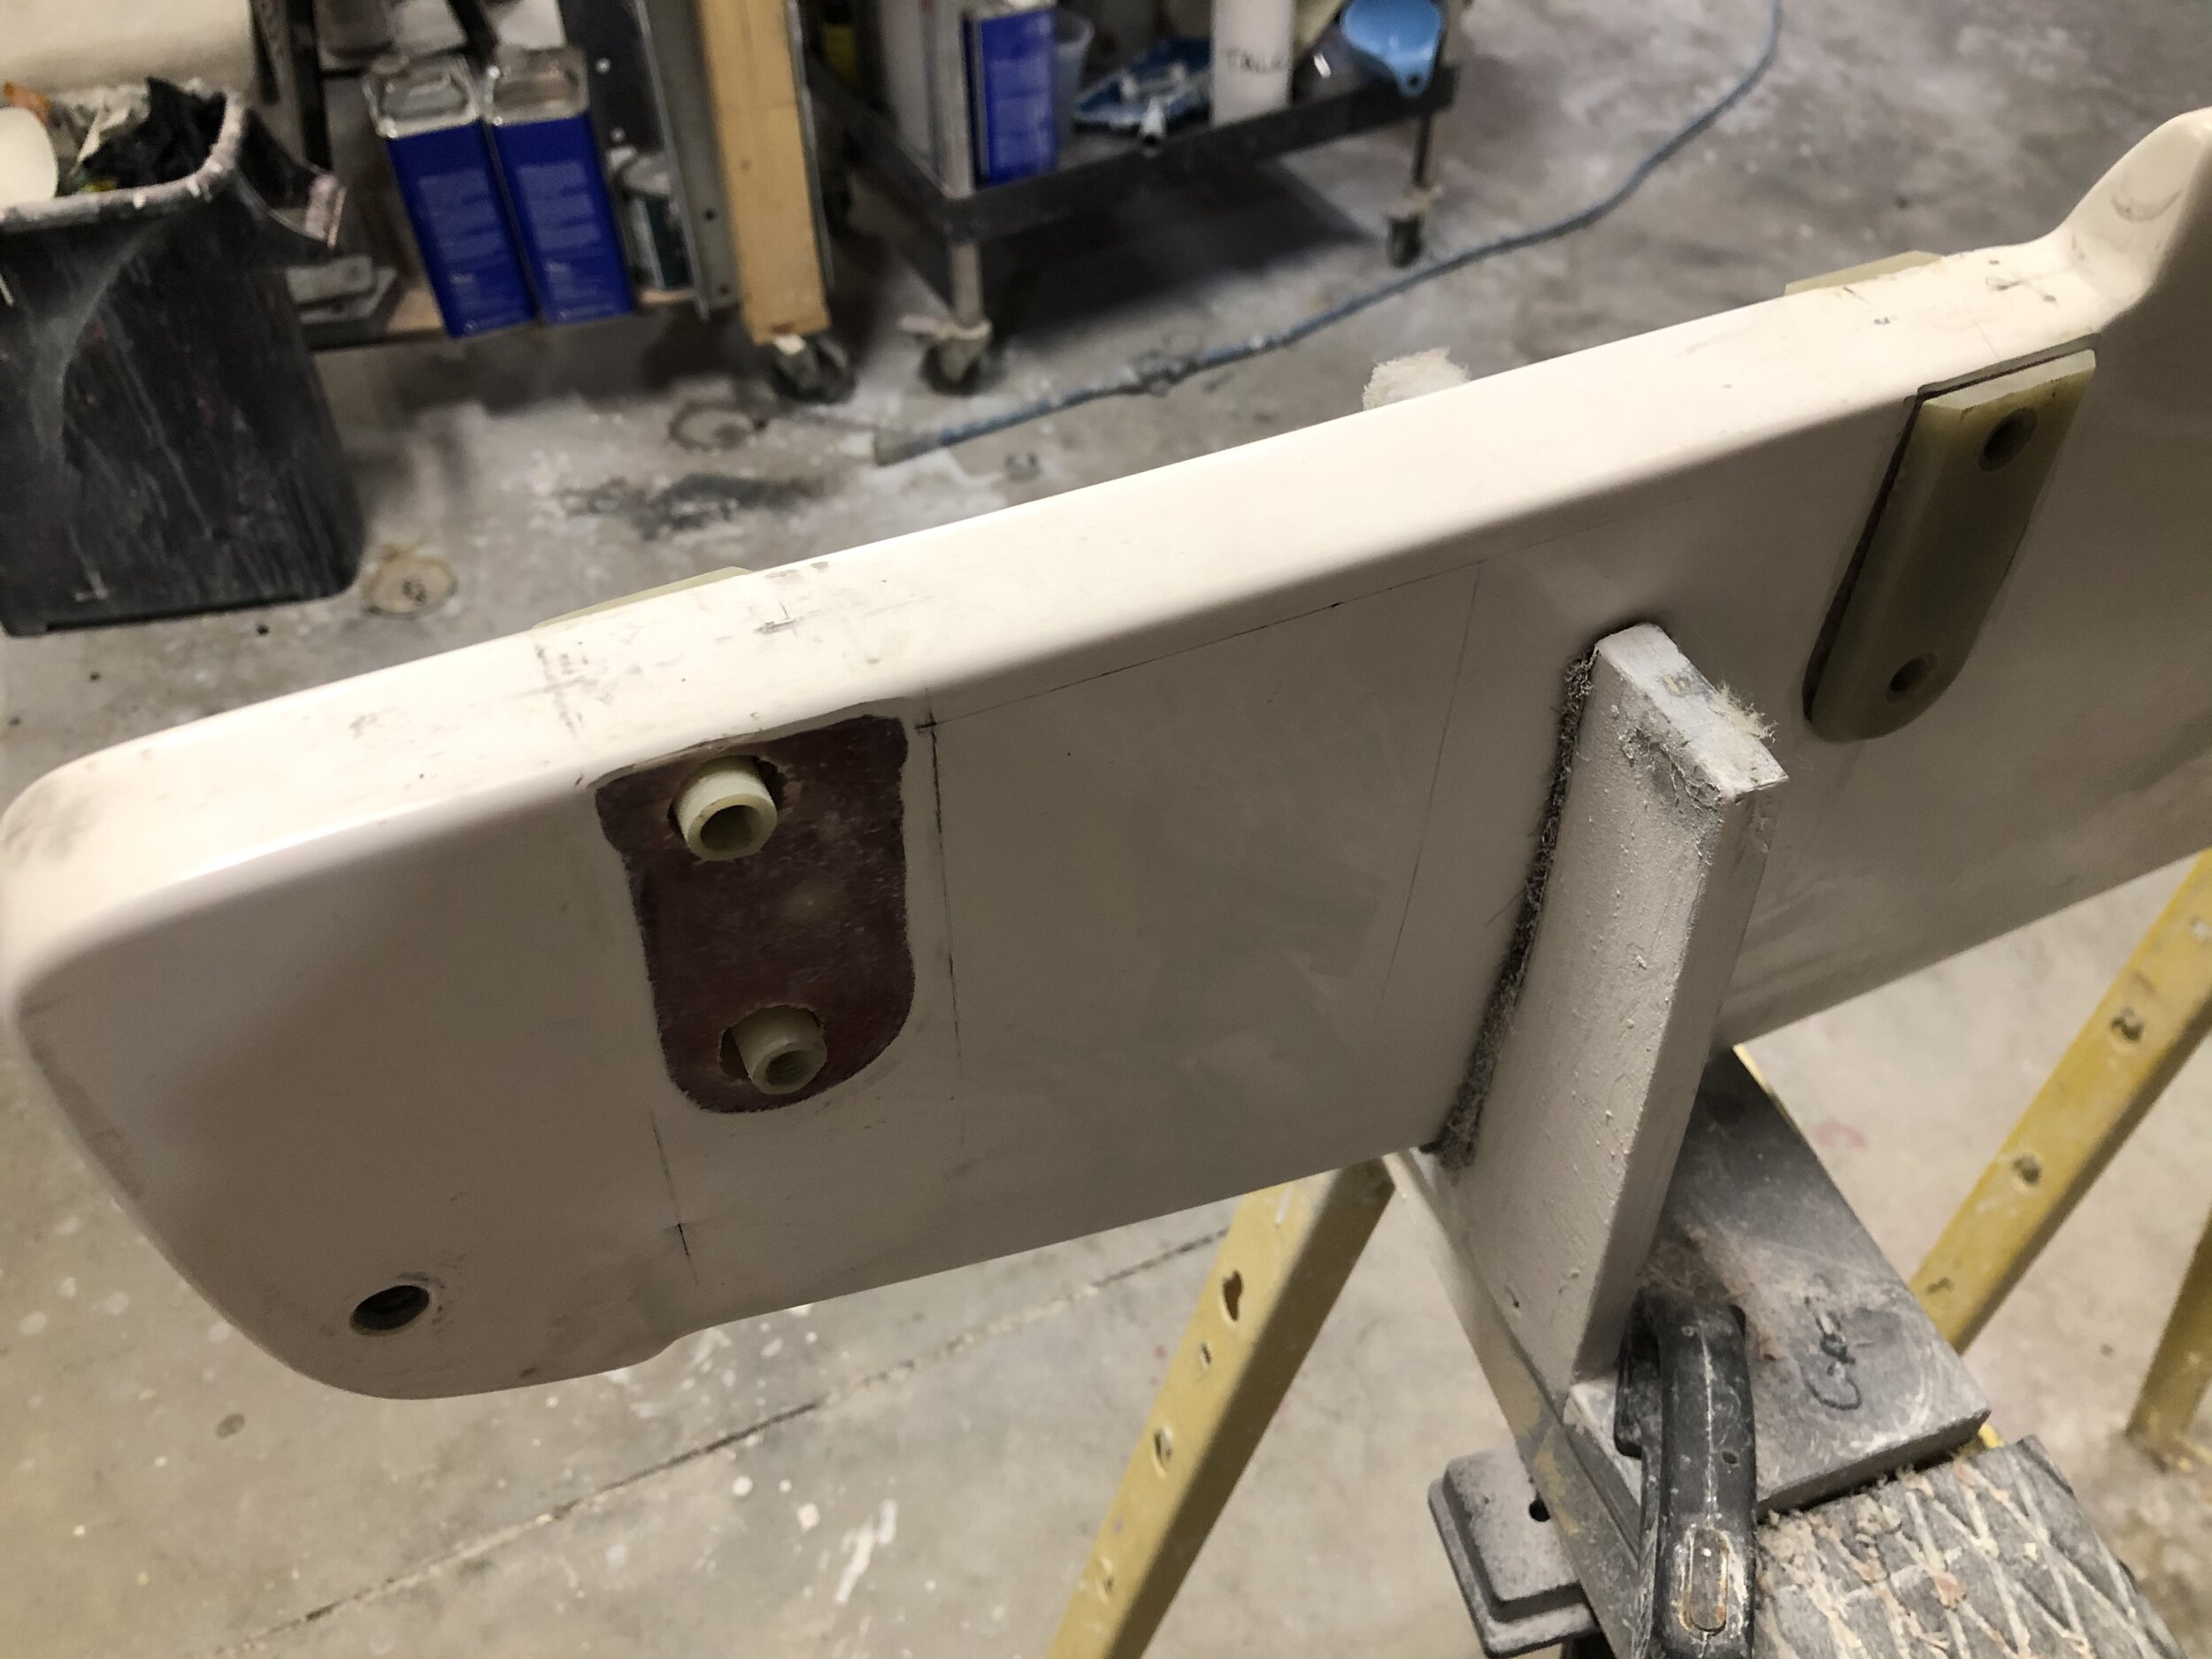
Once you’ve figured out where the plates will end up and have the gelcoat ground out, Clean out the holes by re-drilling them with a slightly larger size bit, and chamfer the openings. This creates more surface area for the epoxy to bond to.
Before mixing your epoxy, cover the holes on one side with tape. be sure to put a small puncture in the tape at each hole to allow air to escape as it’s filled with epoxy. Without a way for air to escape, the hole may appear to be completely filled, but it’s possible for large air pockets to form.
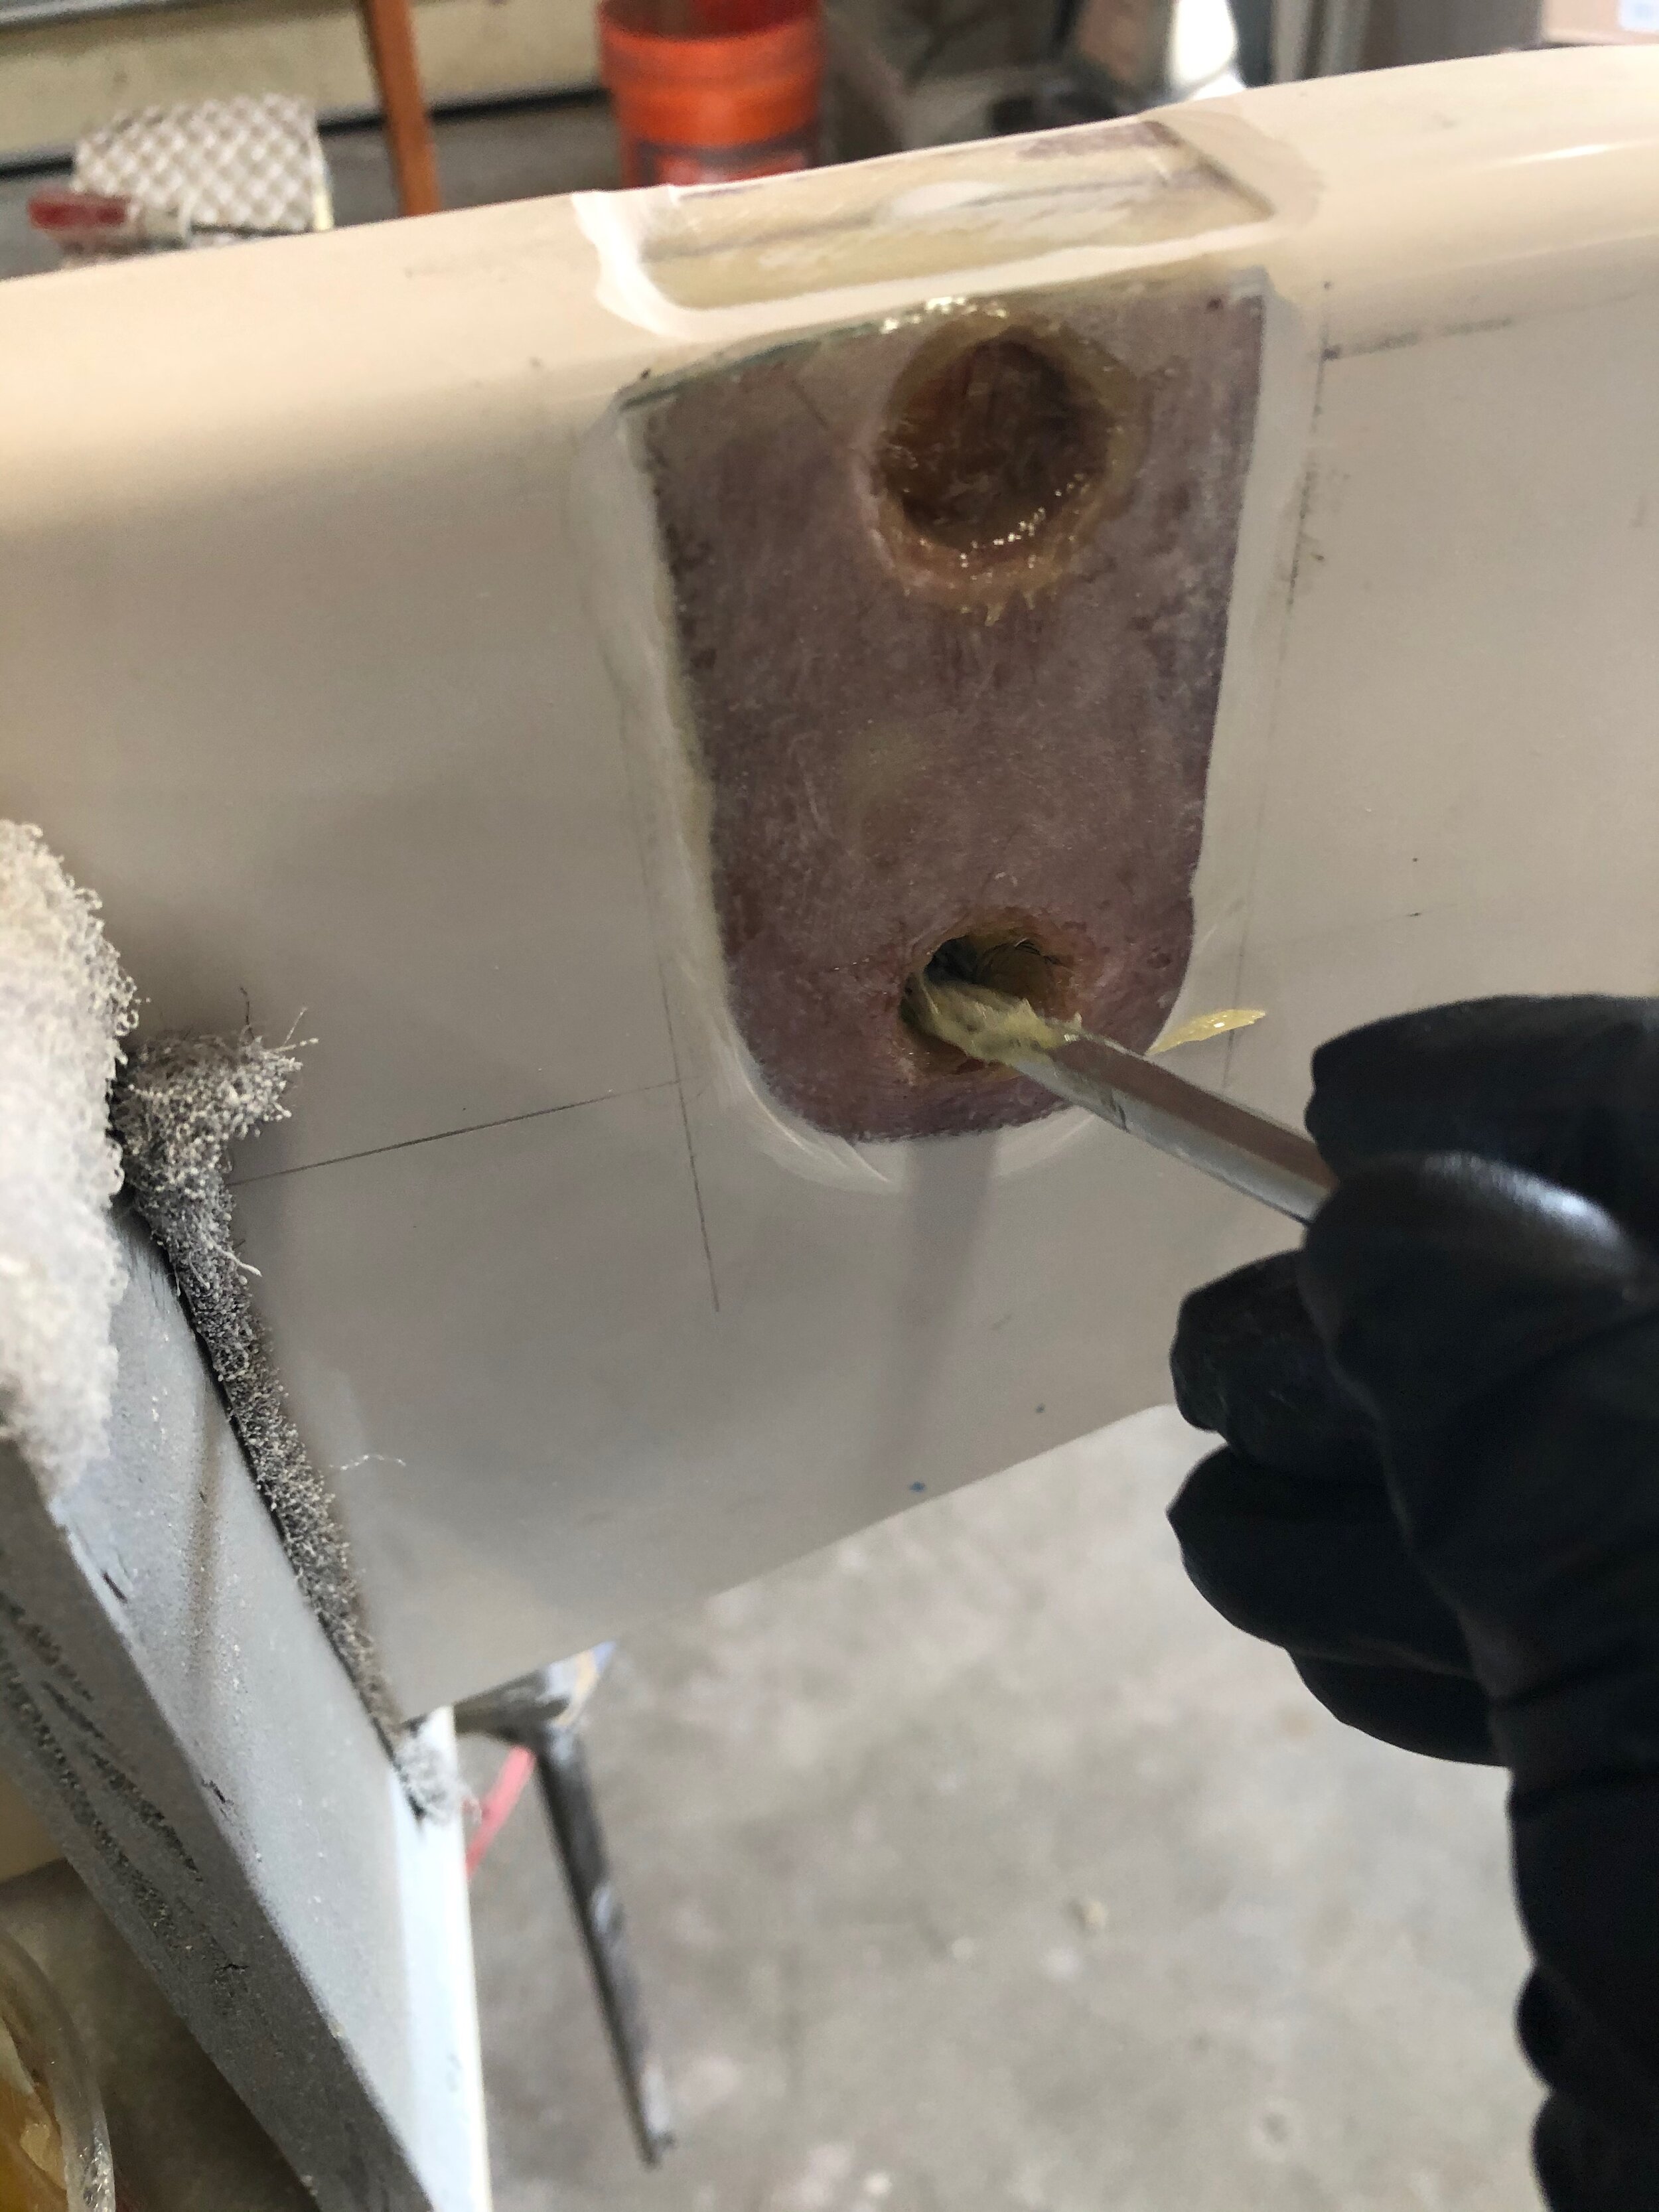
To fill the holes, I mixed 406 filler with epoxy until it was roughly the consistency of peanut butter. Using a syringe, the epoxy is injected into the hole working from the bottom up making sure there are not any large air bubbles that develop.
Once the epoxy has fully cured, remove the tape and sand both sides down until they are flush to the original fiberglass.
Drilling New Holes


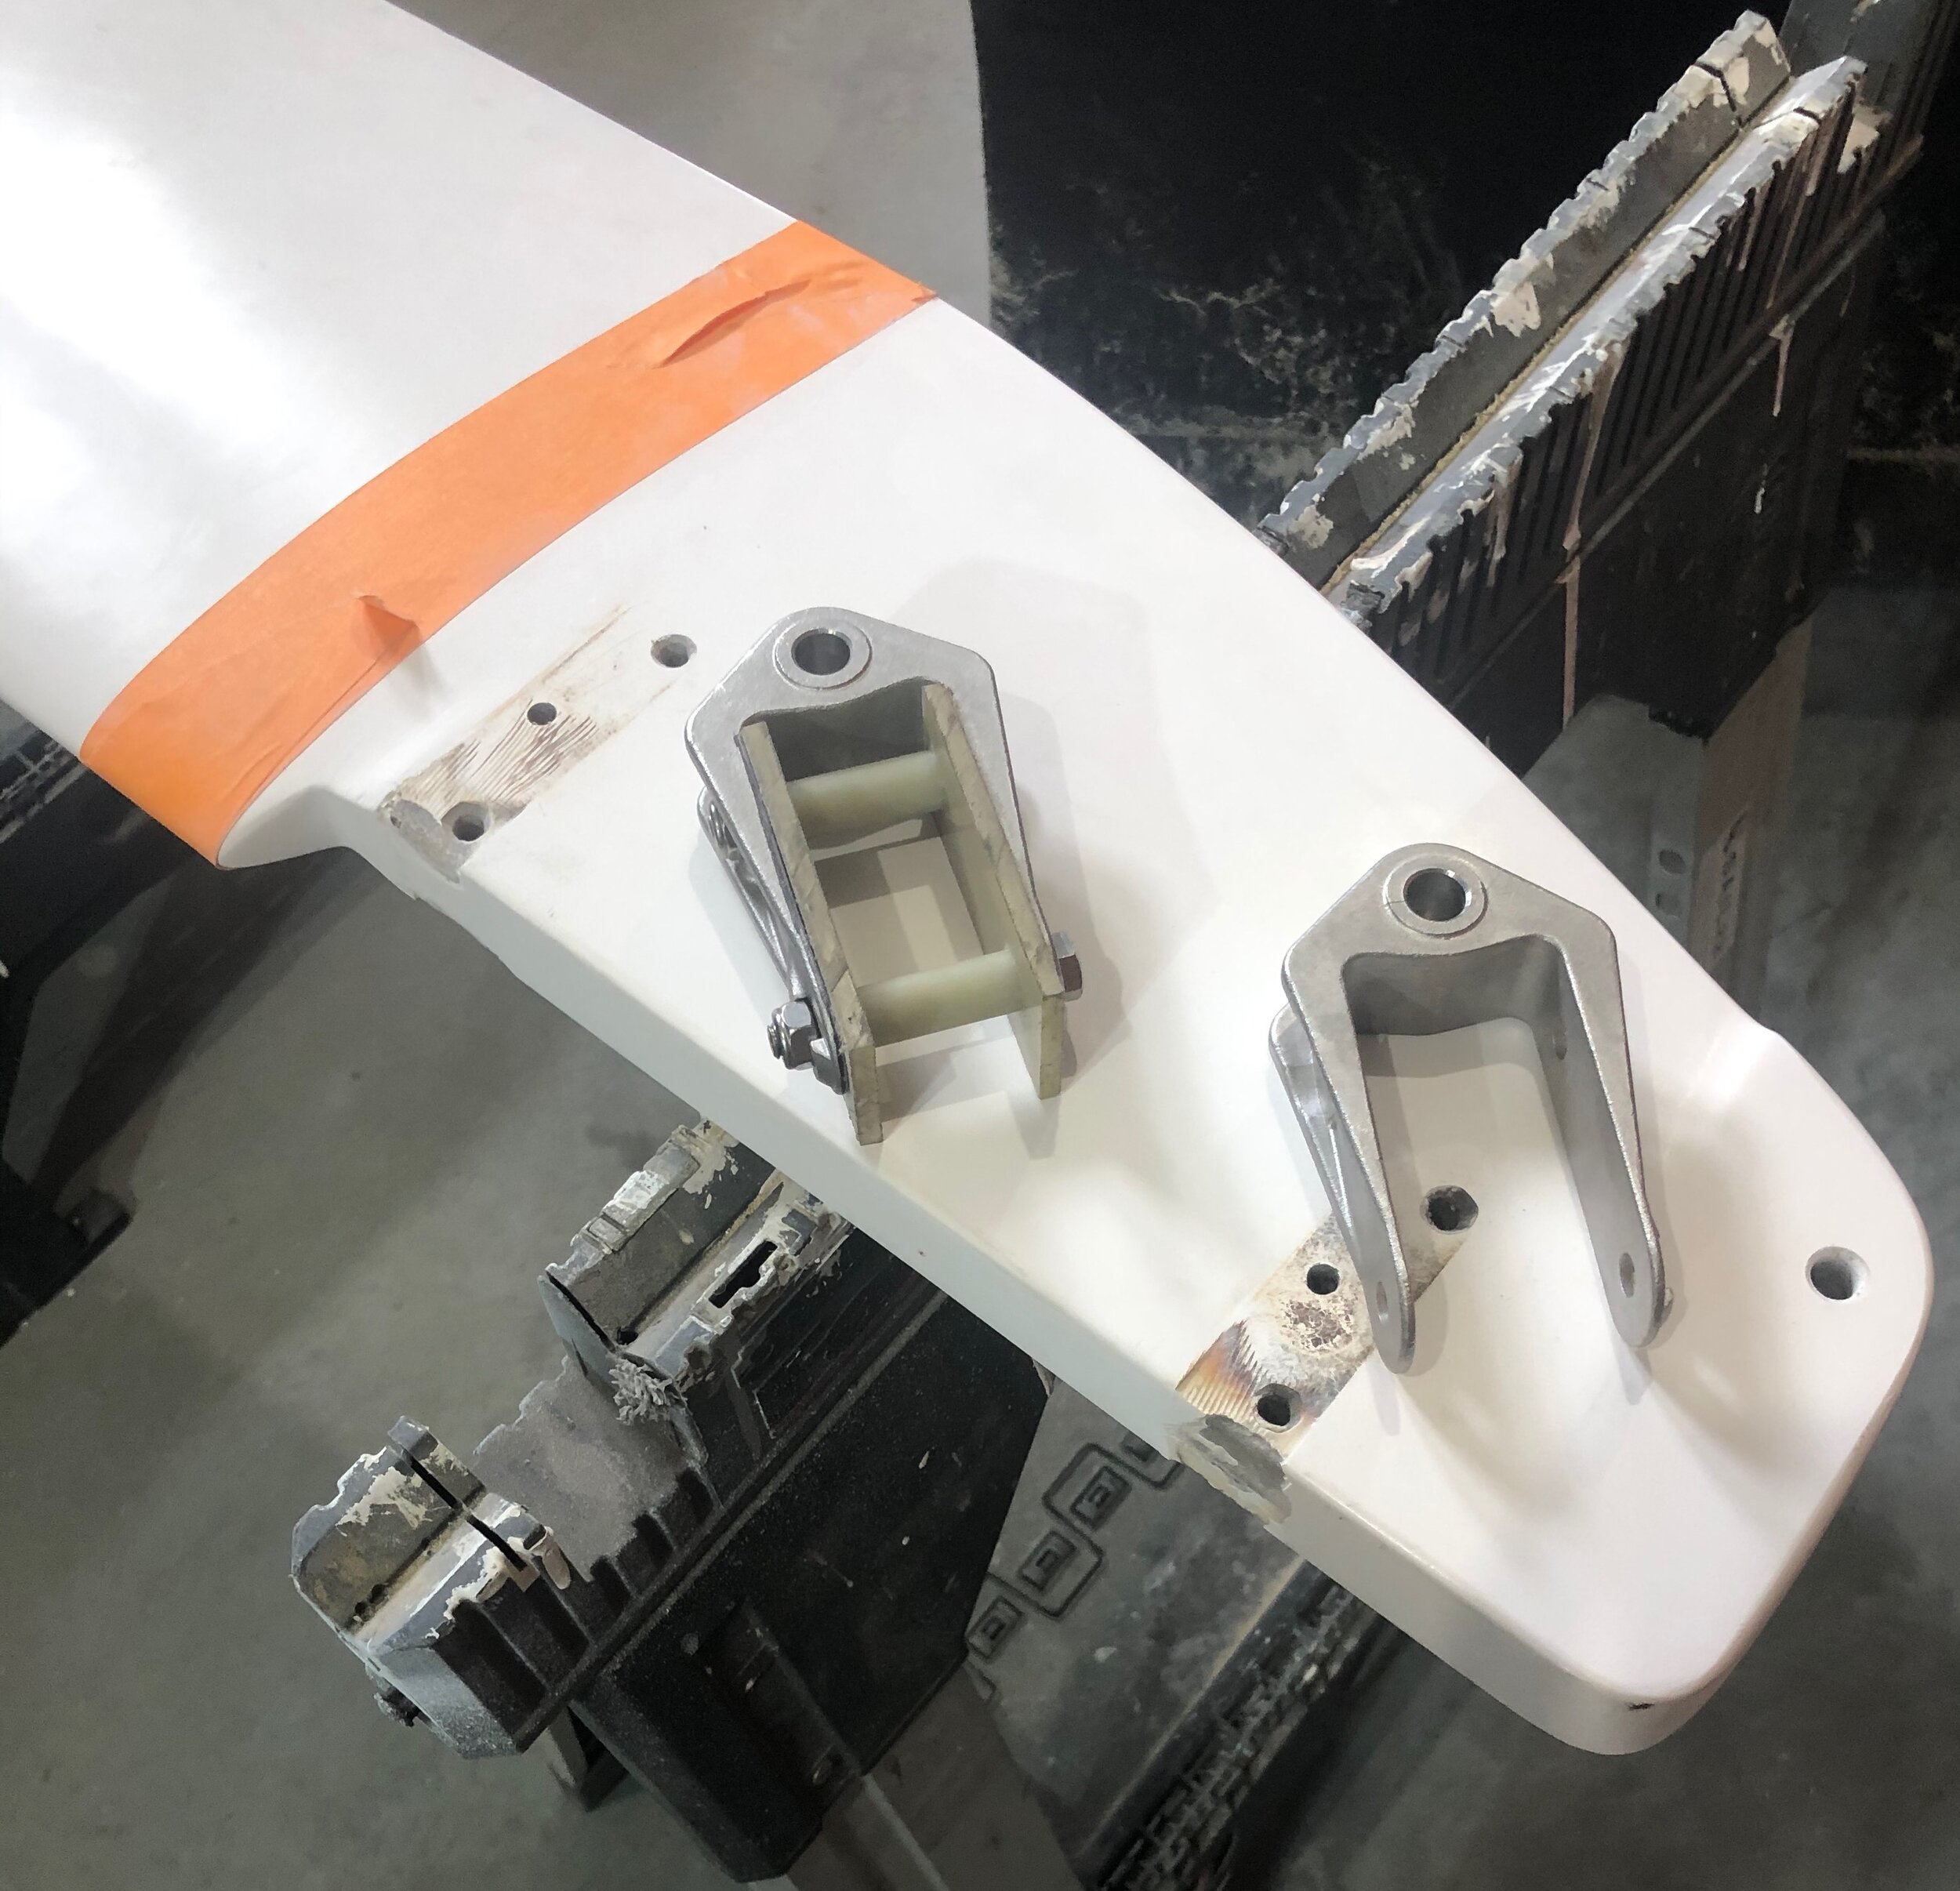
Once you have the old holes filled, the next step is to drill out the new holes. Using the alignment jig with the pin inserted, place the entire assembly on the rudder and mark where the holes need to go.
Since the bolts go through G10 tubes which will be epoxied into the rudder, drill these holes out larger than the tube diameter. The oversized holes serve two purposes. First, it allows some movement which will make the final alignment much easier. Second, it creates a space around the tube for the epoxy to be injected.
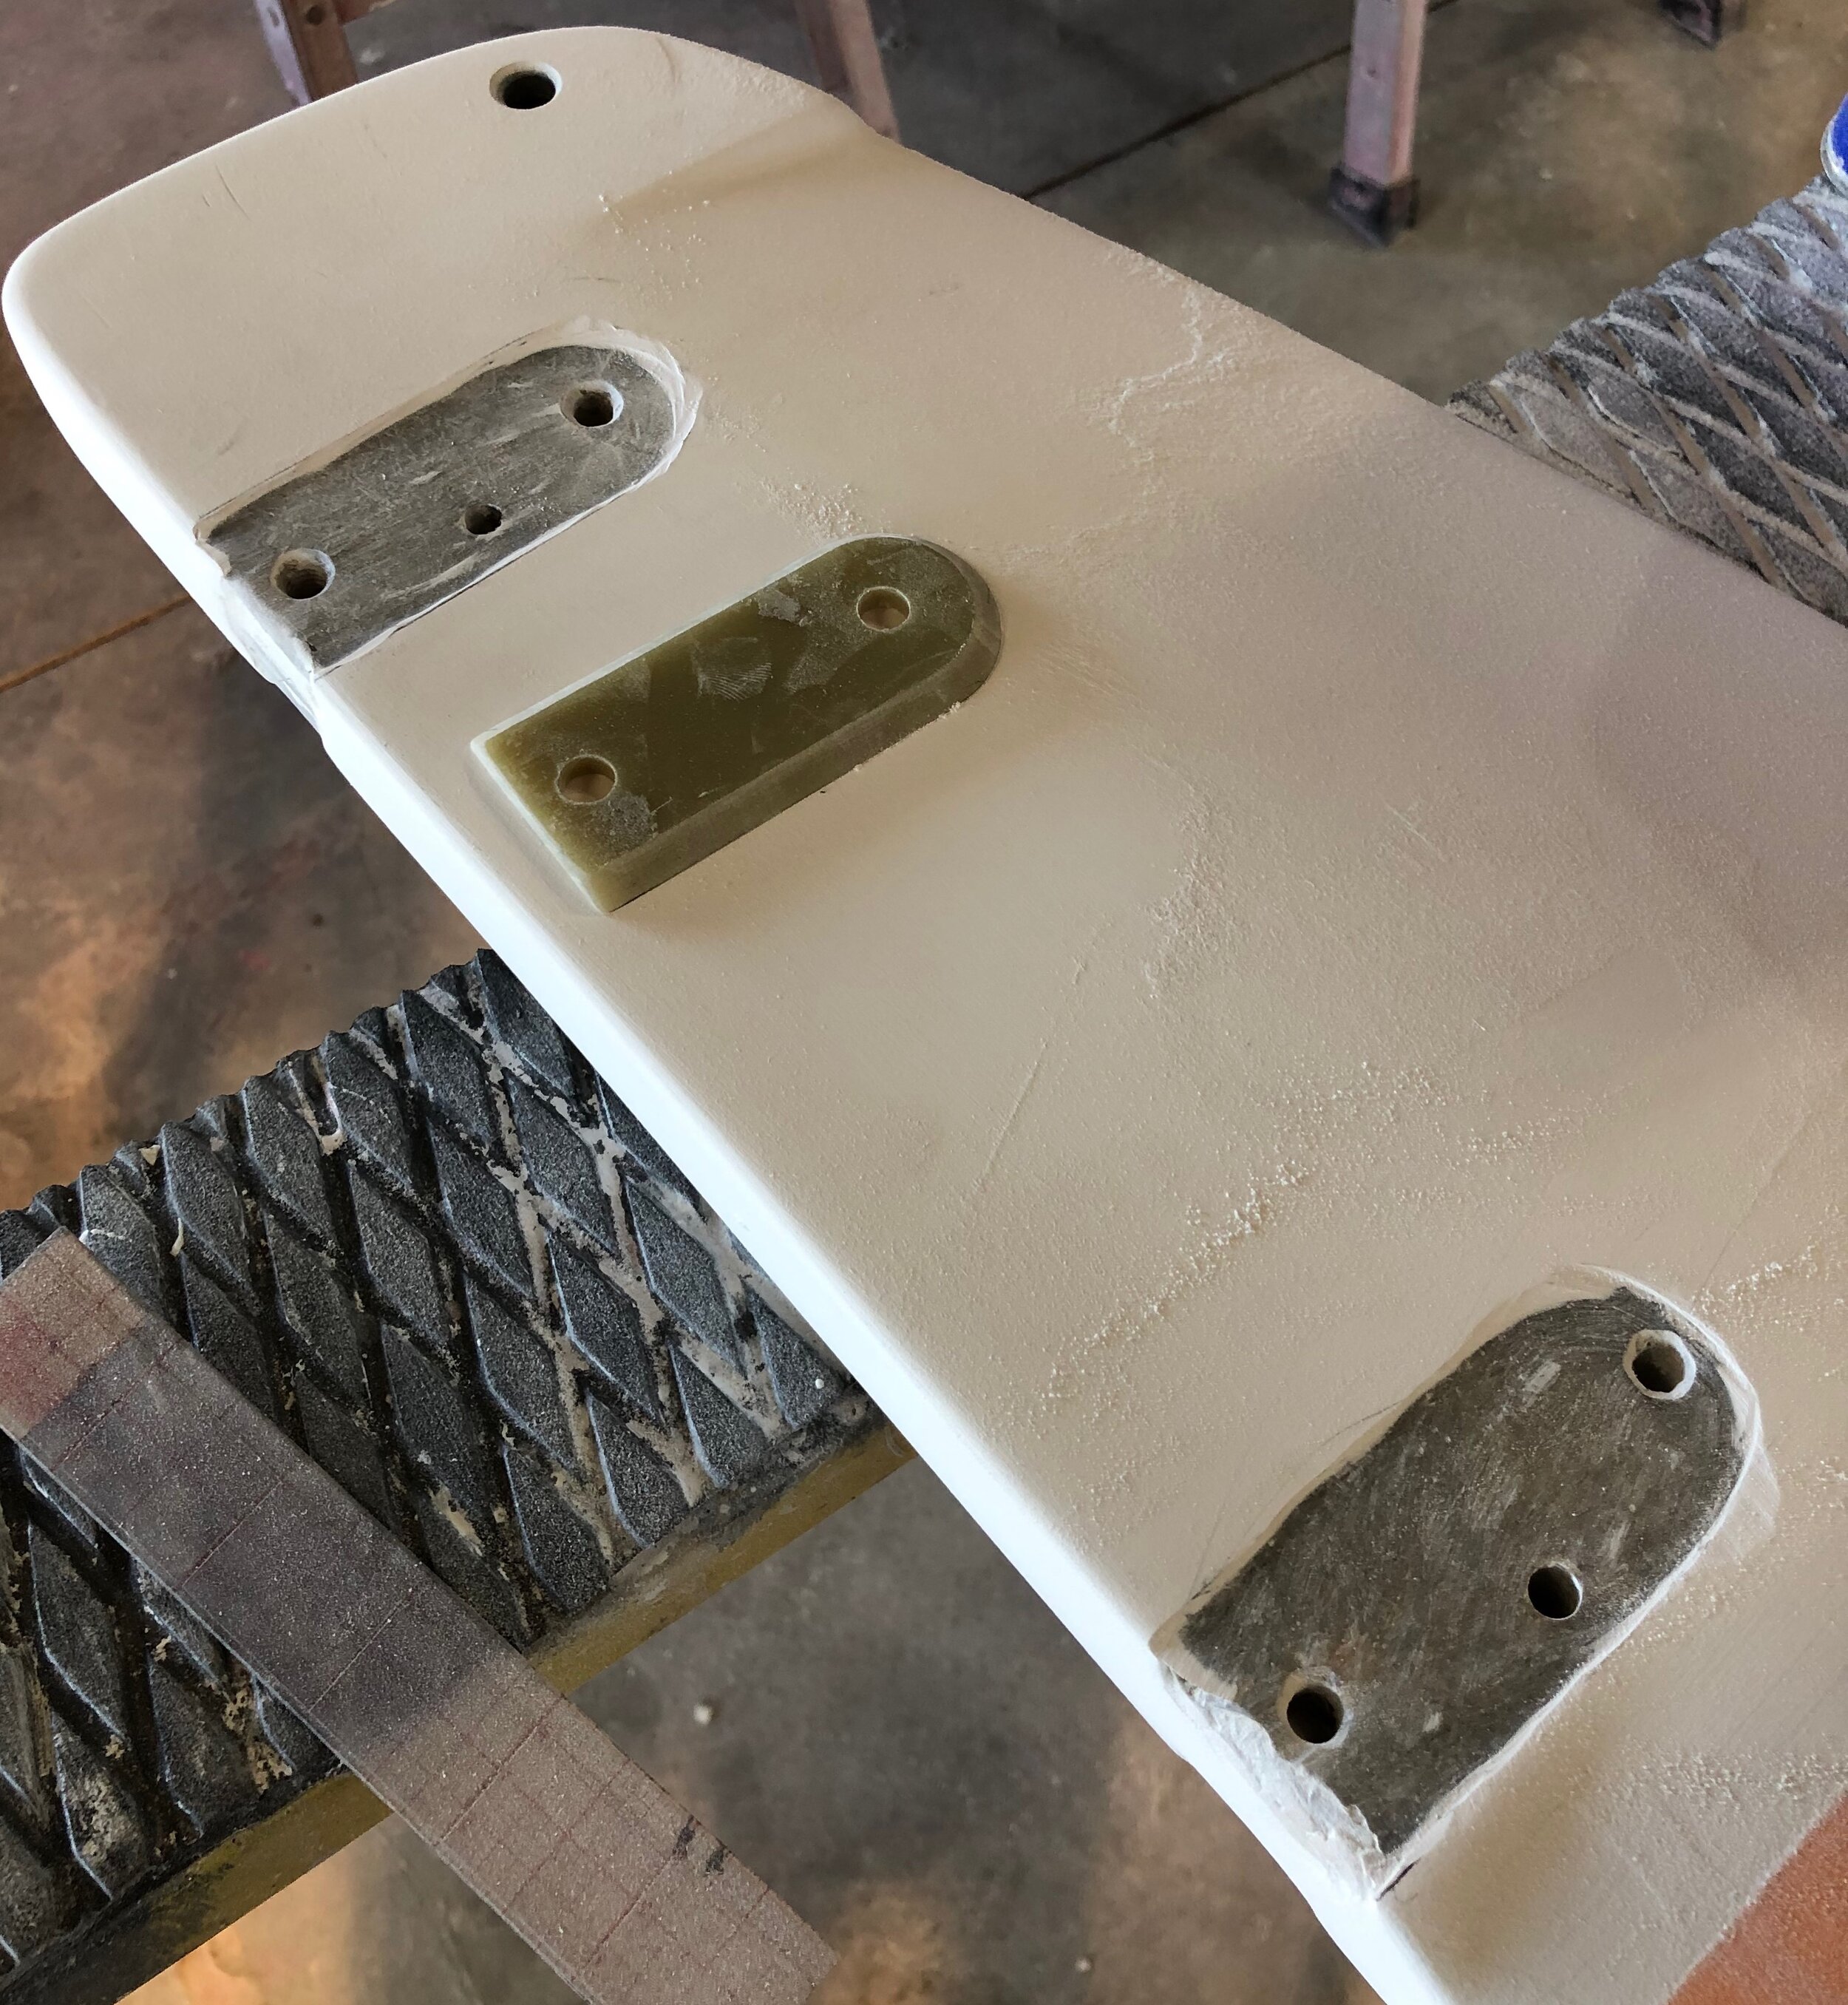
Epoxying G10 Plates
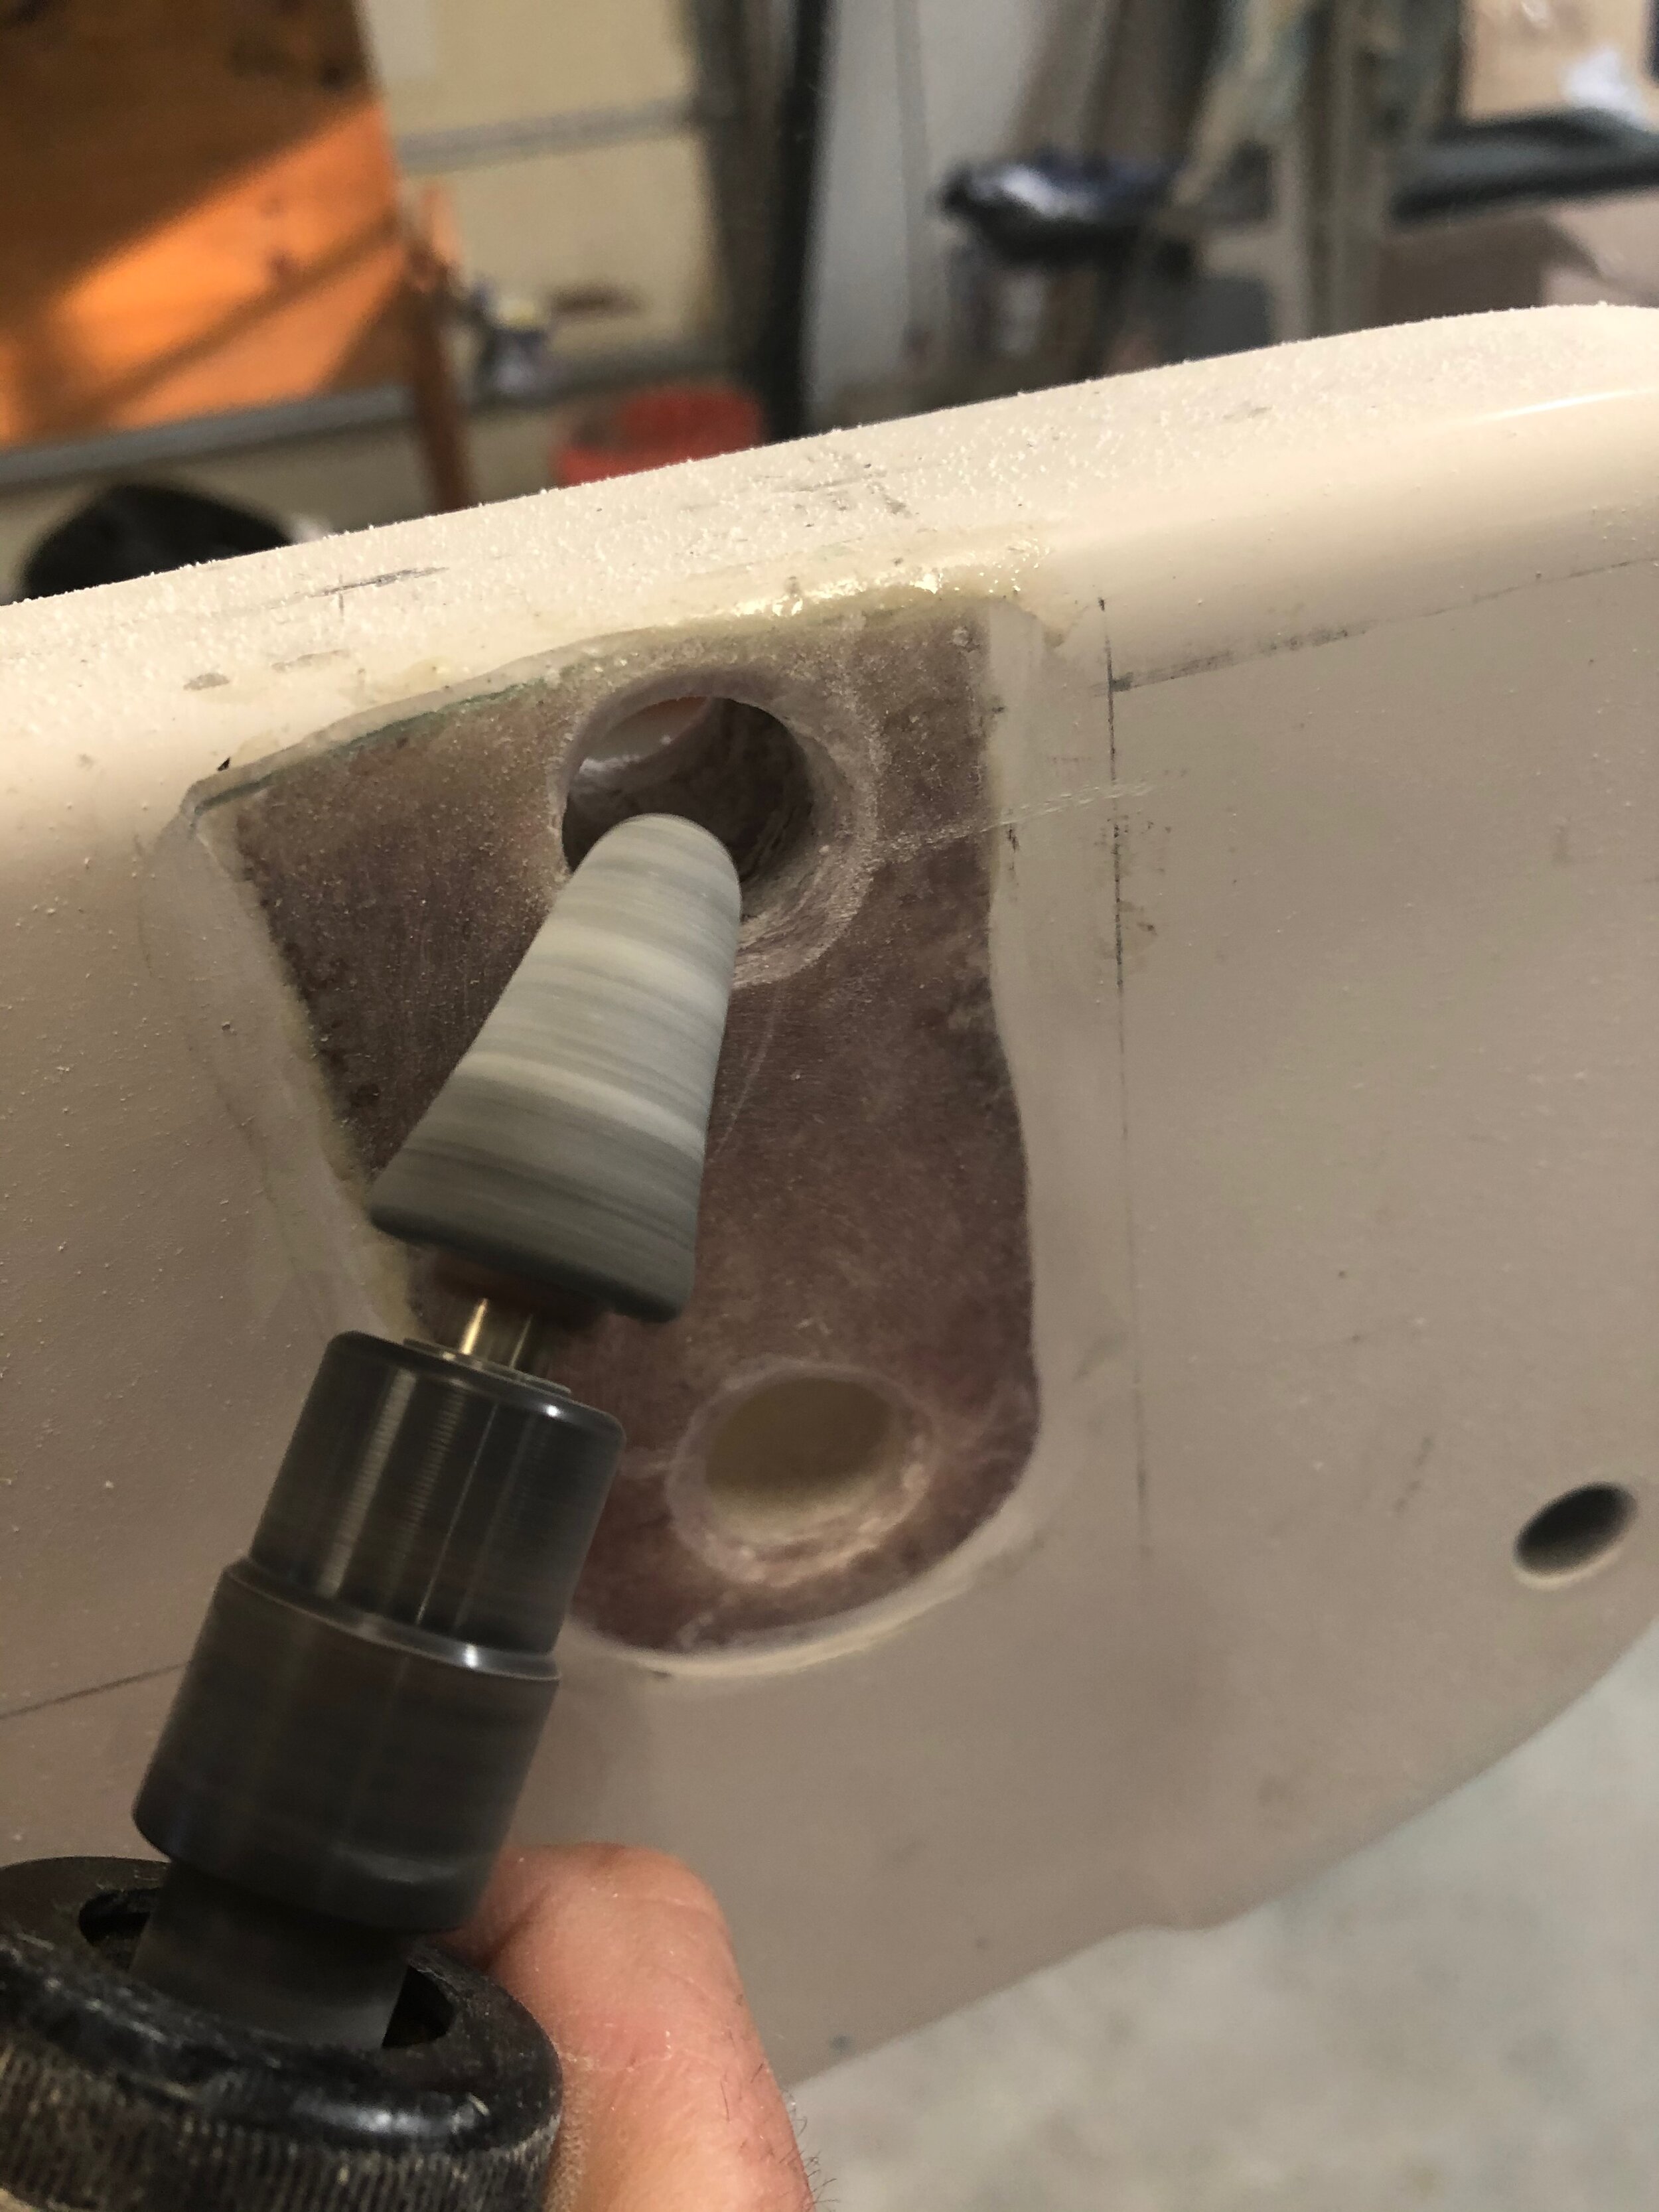

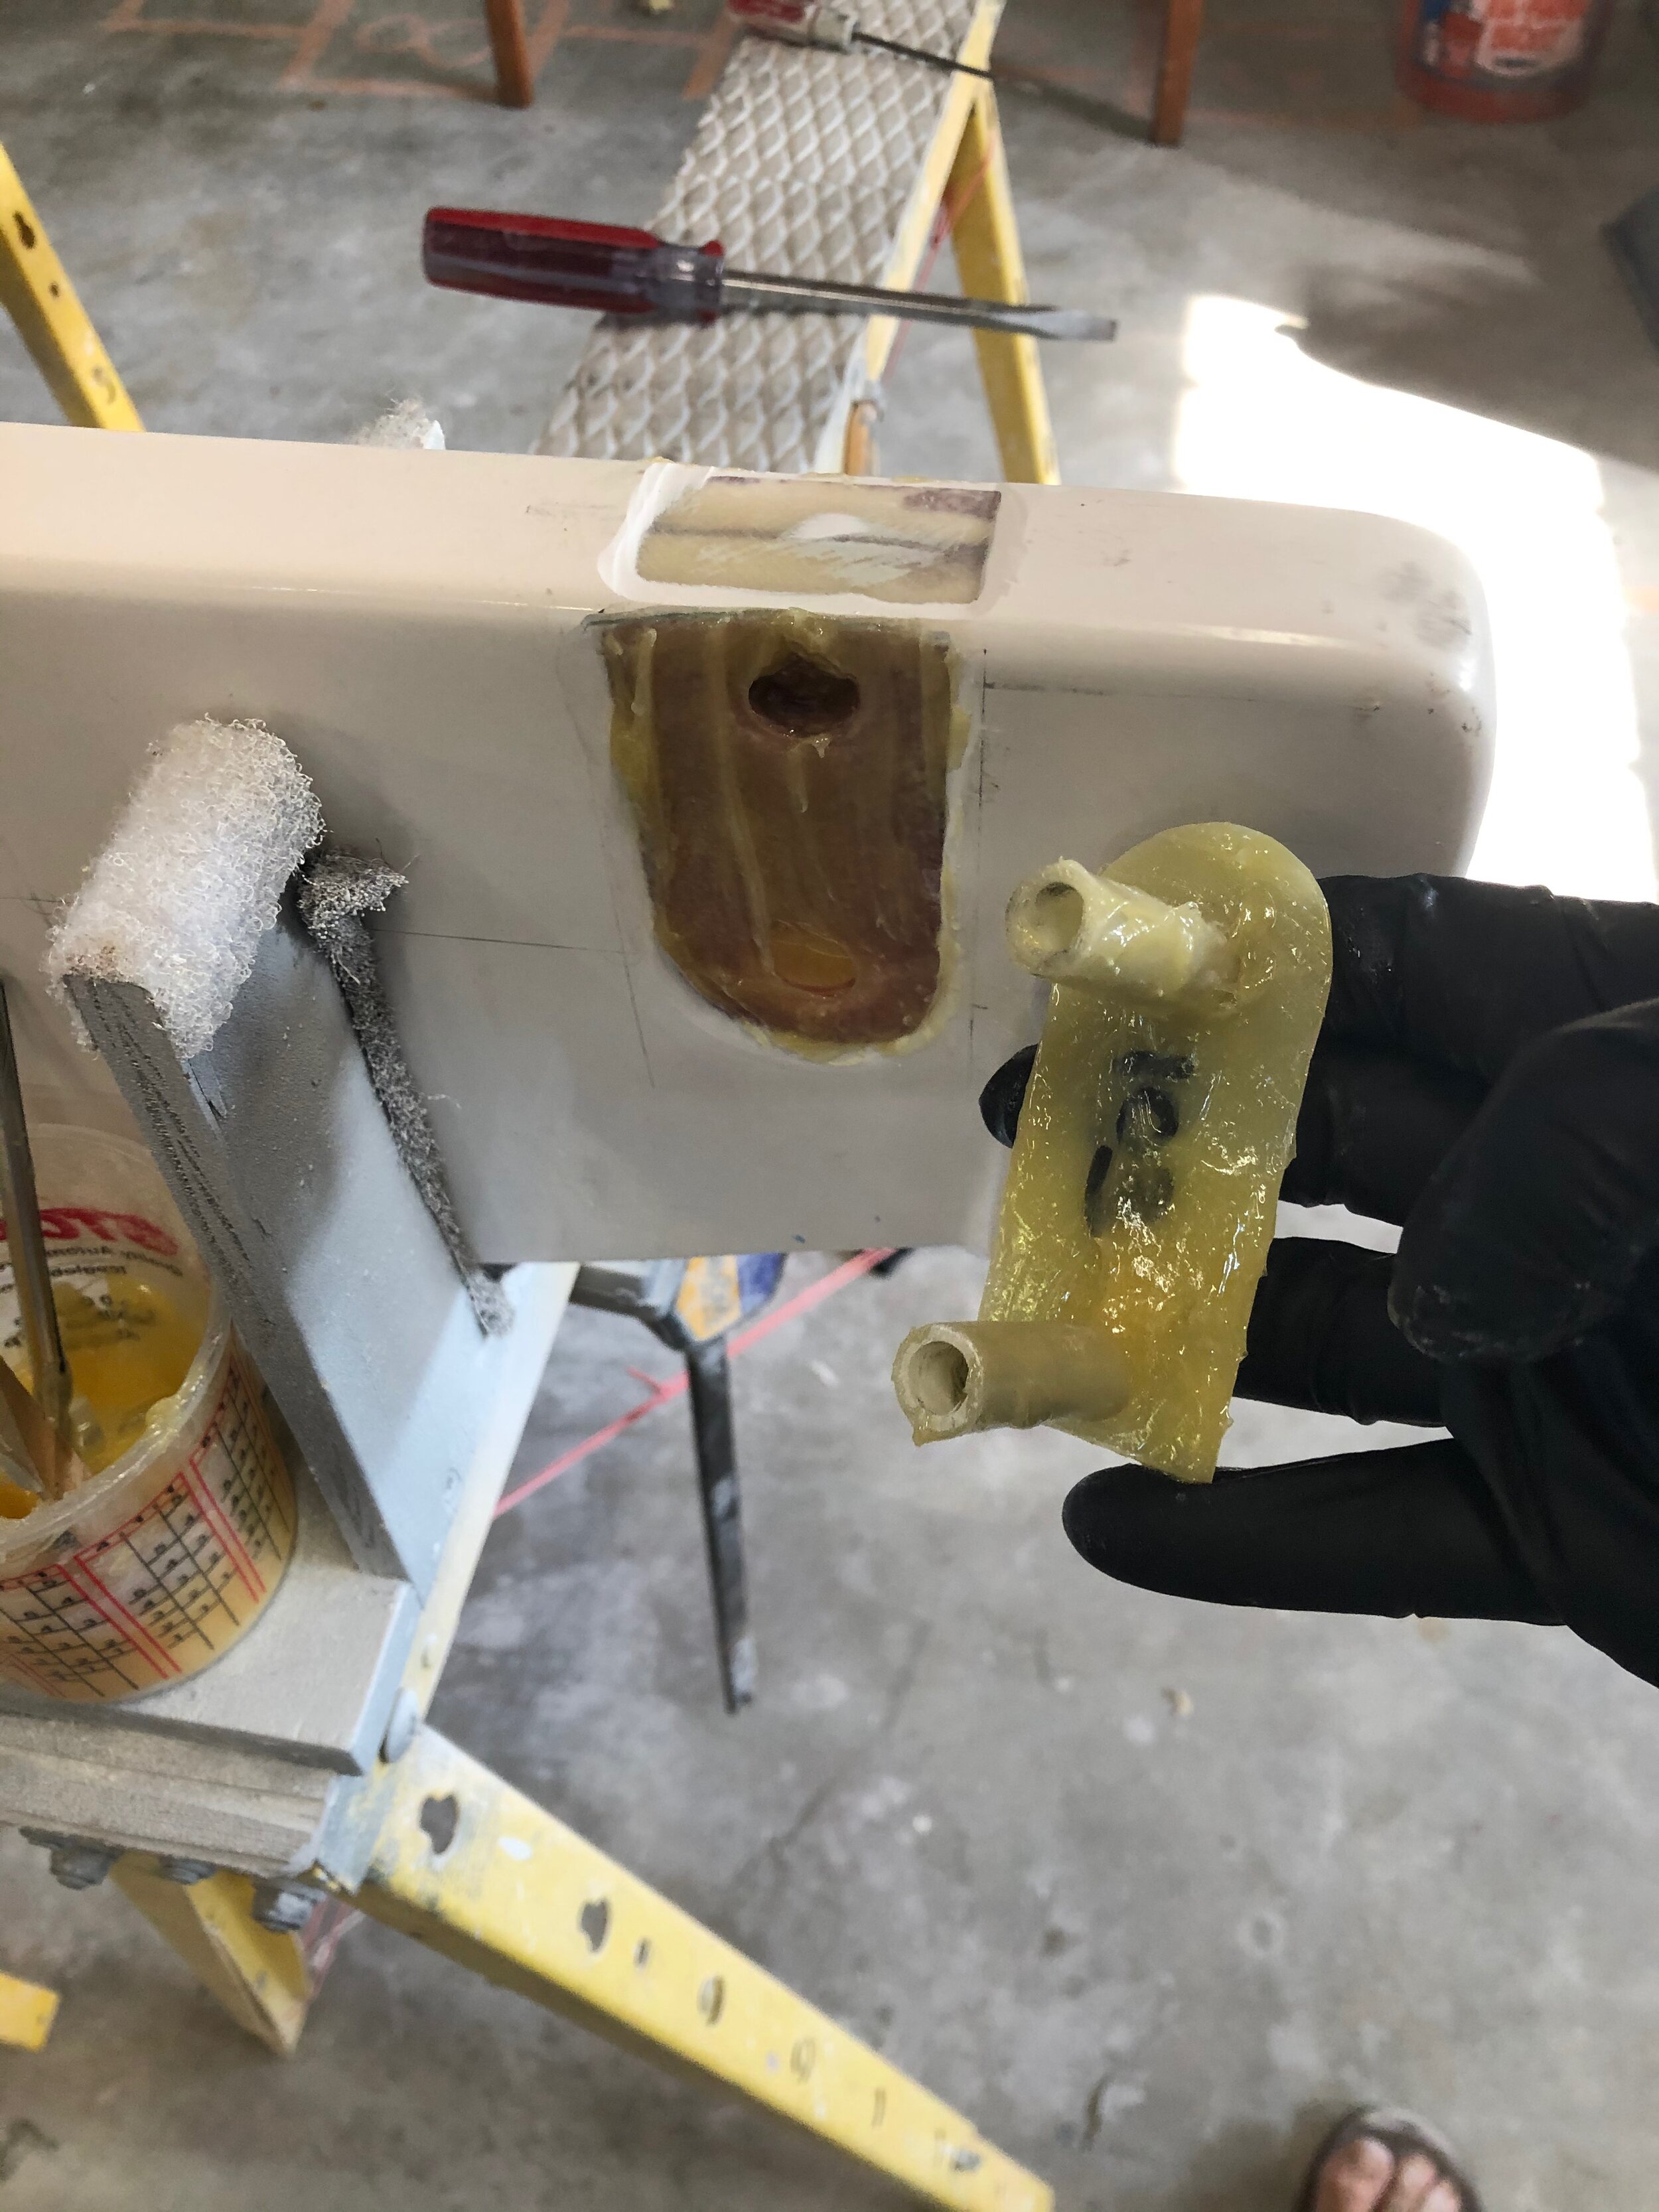


Before applying epoxy, Chamfer the hole openings the same way we did when filling the old holes. This is to provide even more surface area to secure the G10 tubes.
Again, we will use epoxy mixed with 406 filler. Apply epoxy to both the back of the G10 plate, as well as the rudder itself. Using a syringe, inject epoxy around the G10 tube as it’s being inserted through the rudder.
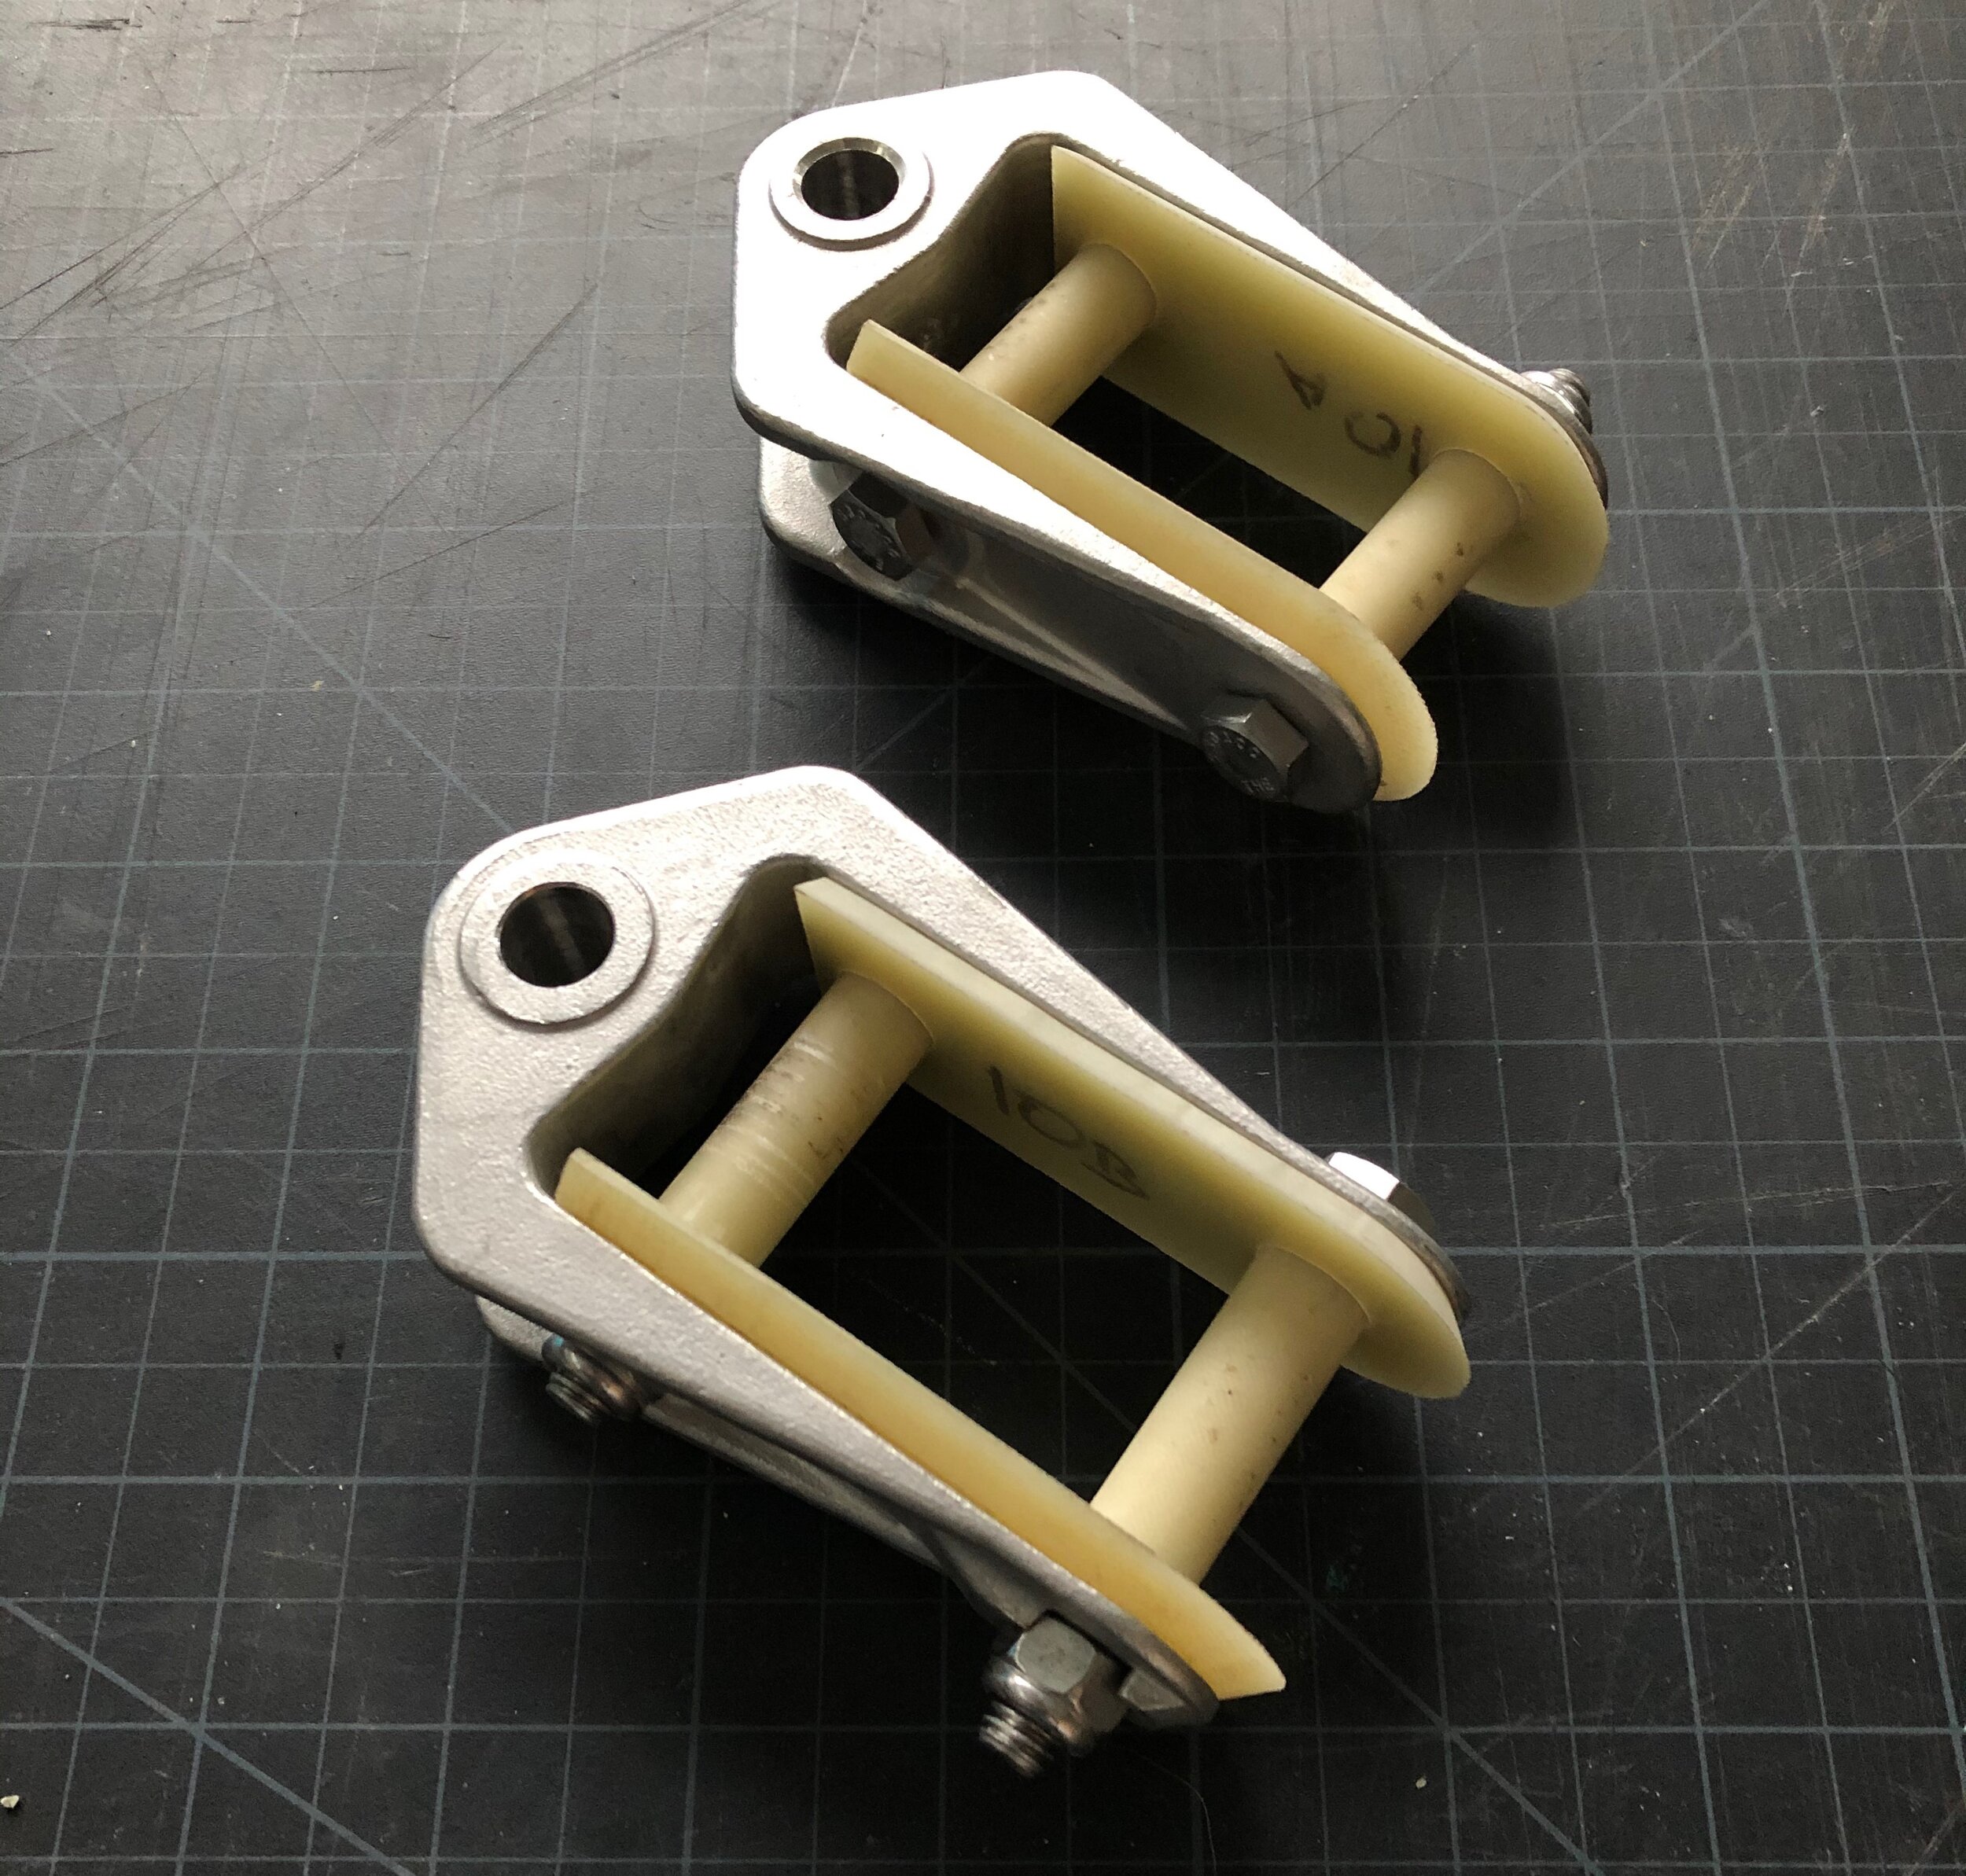
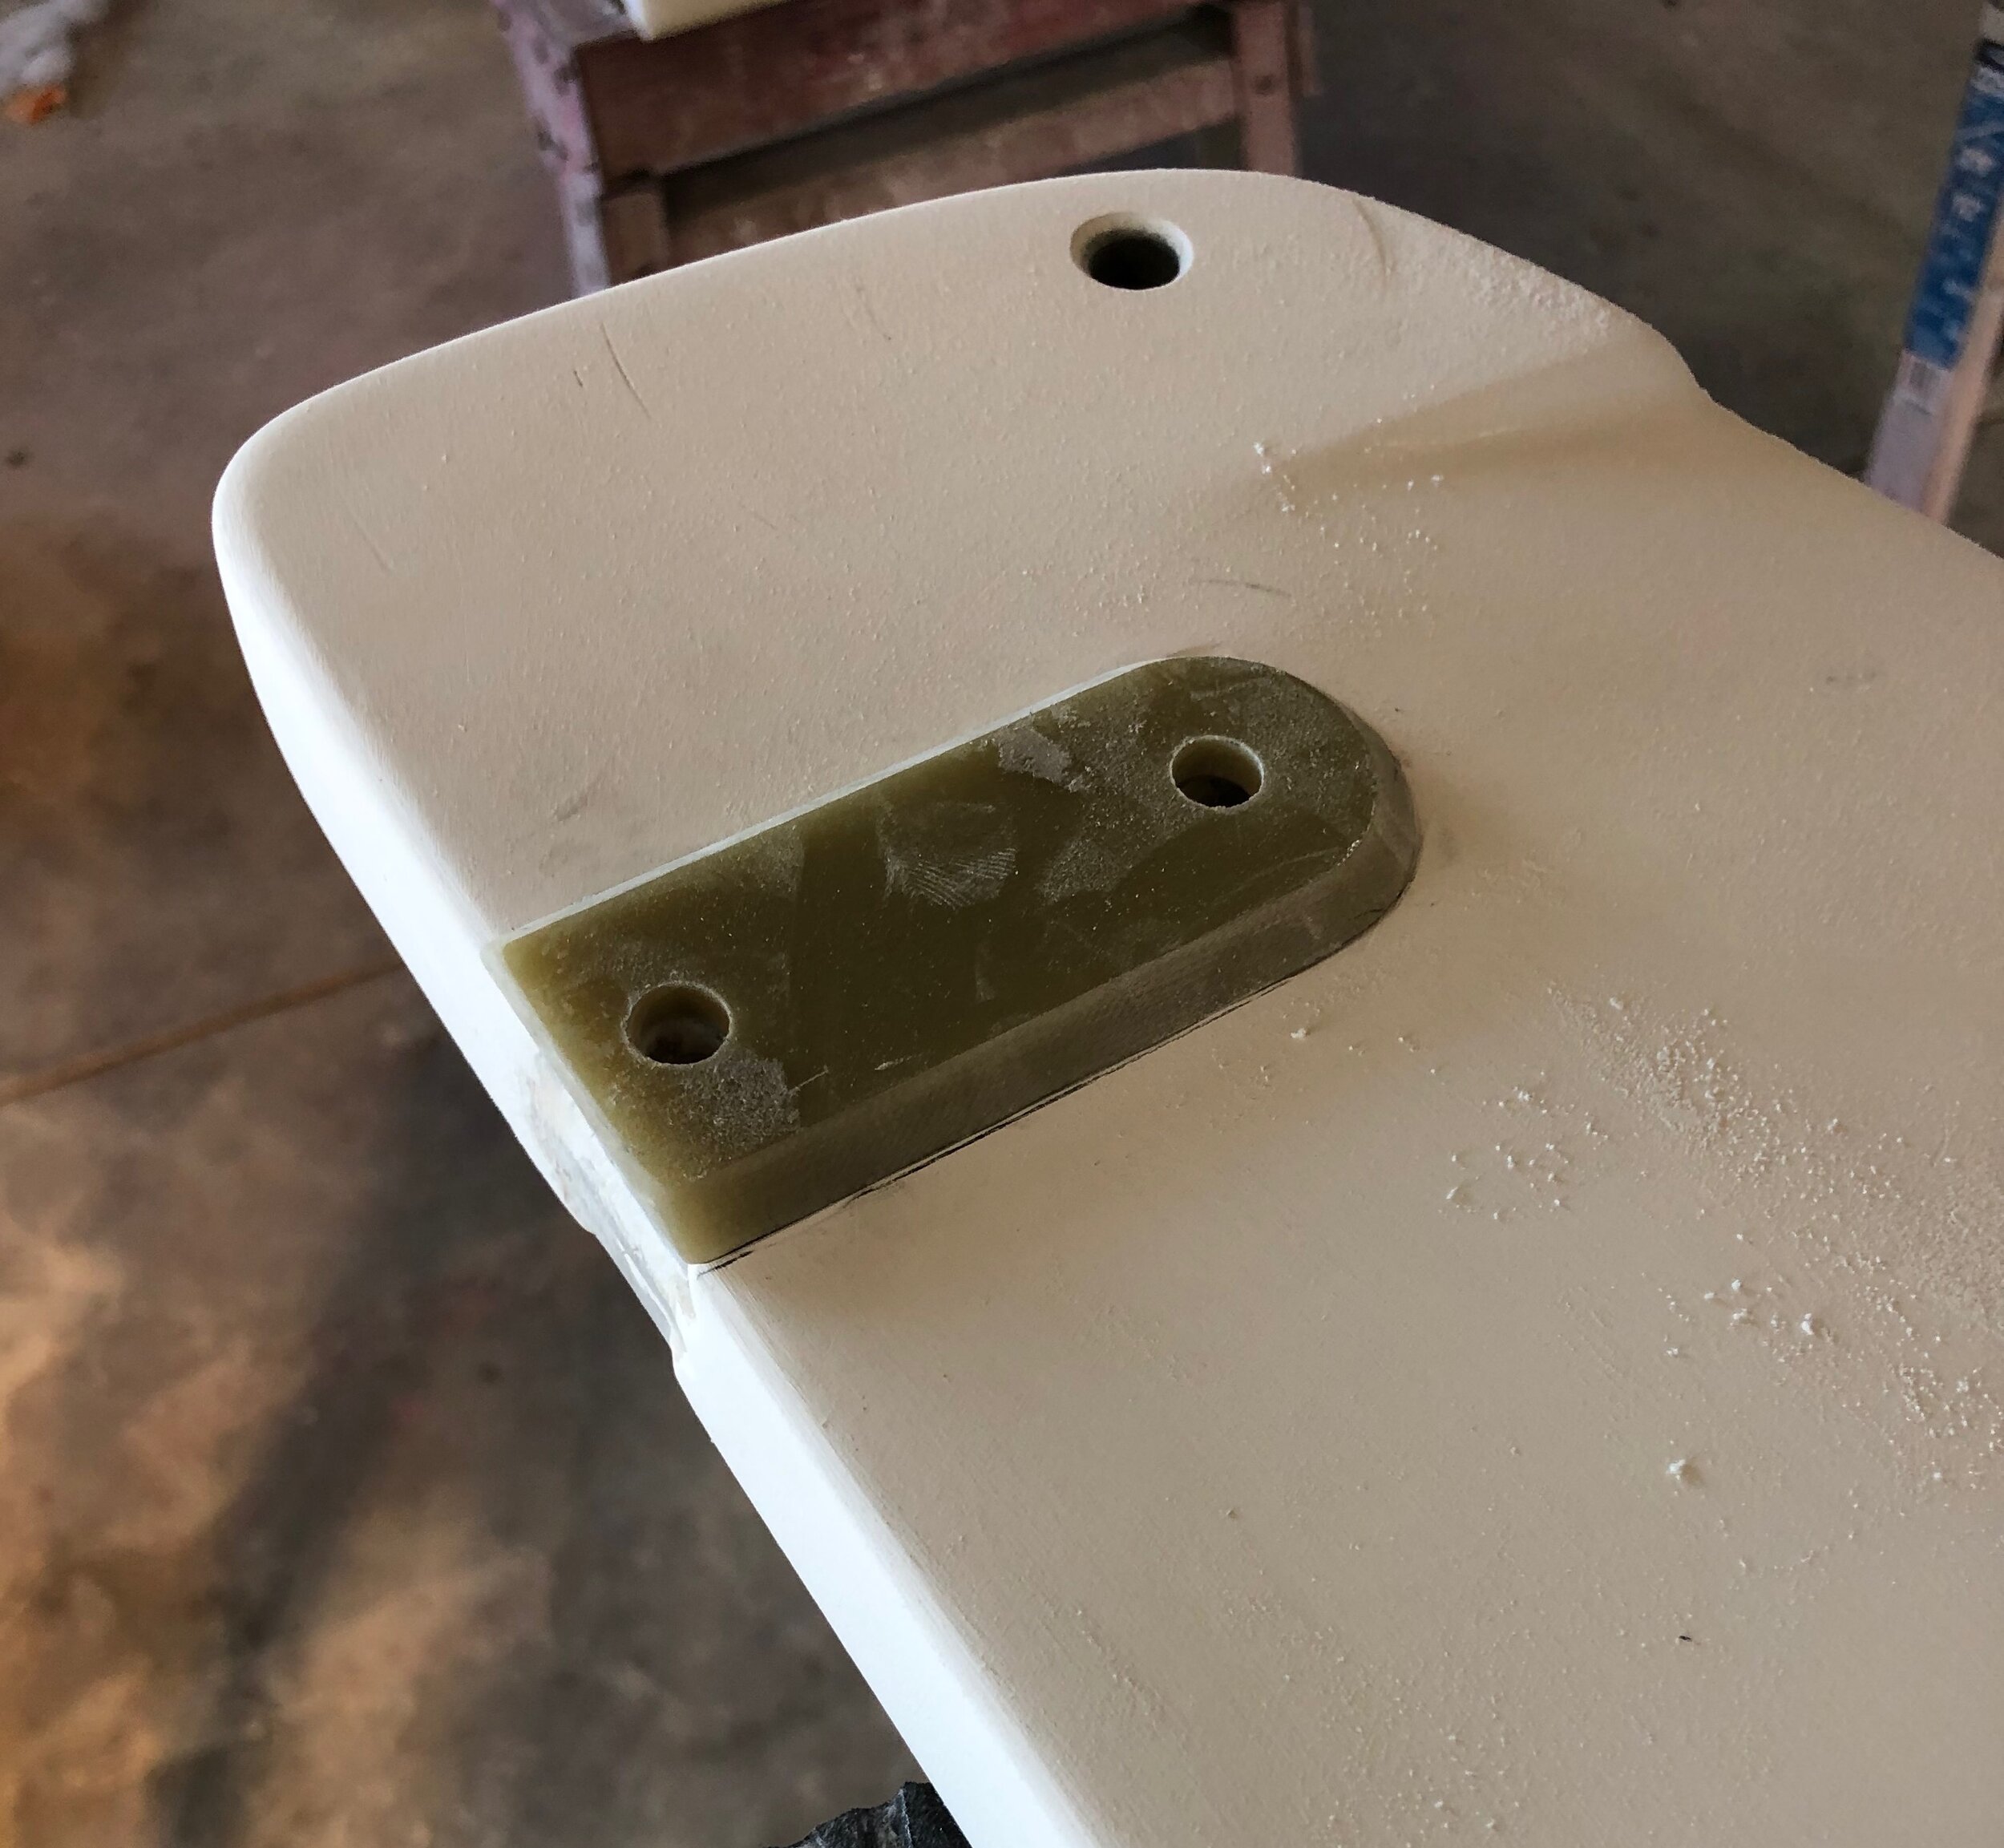
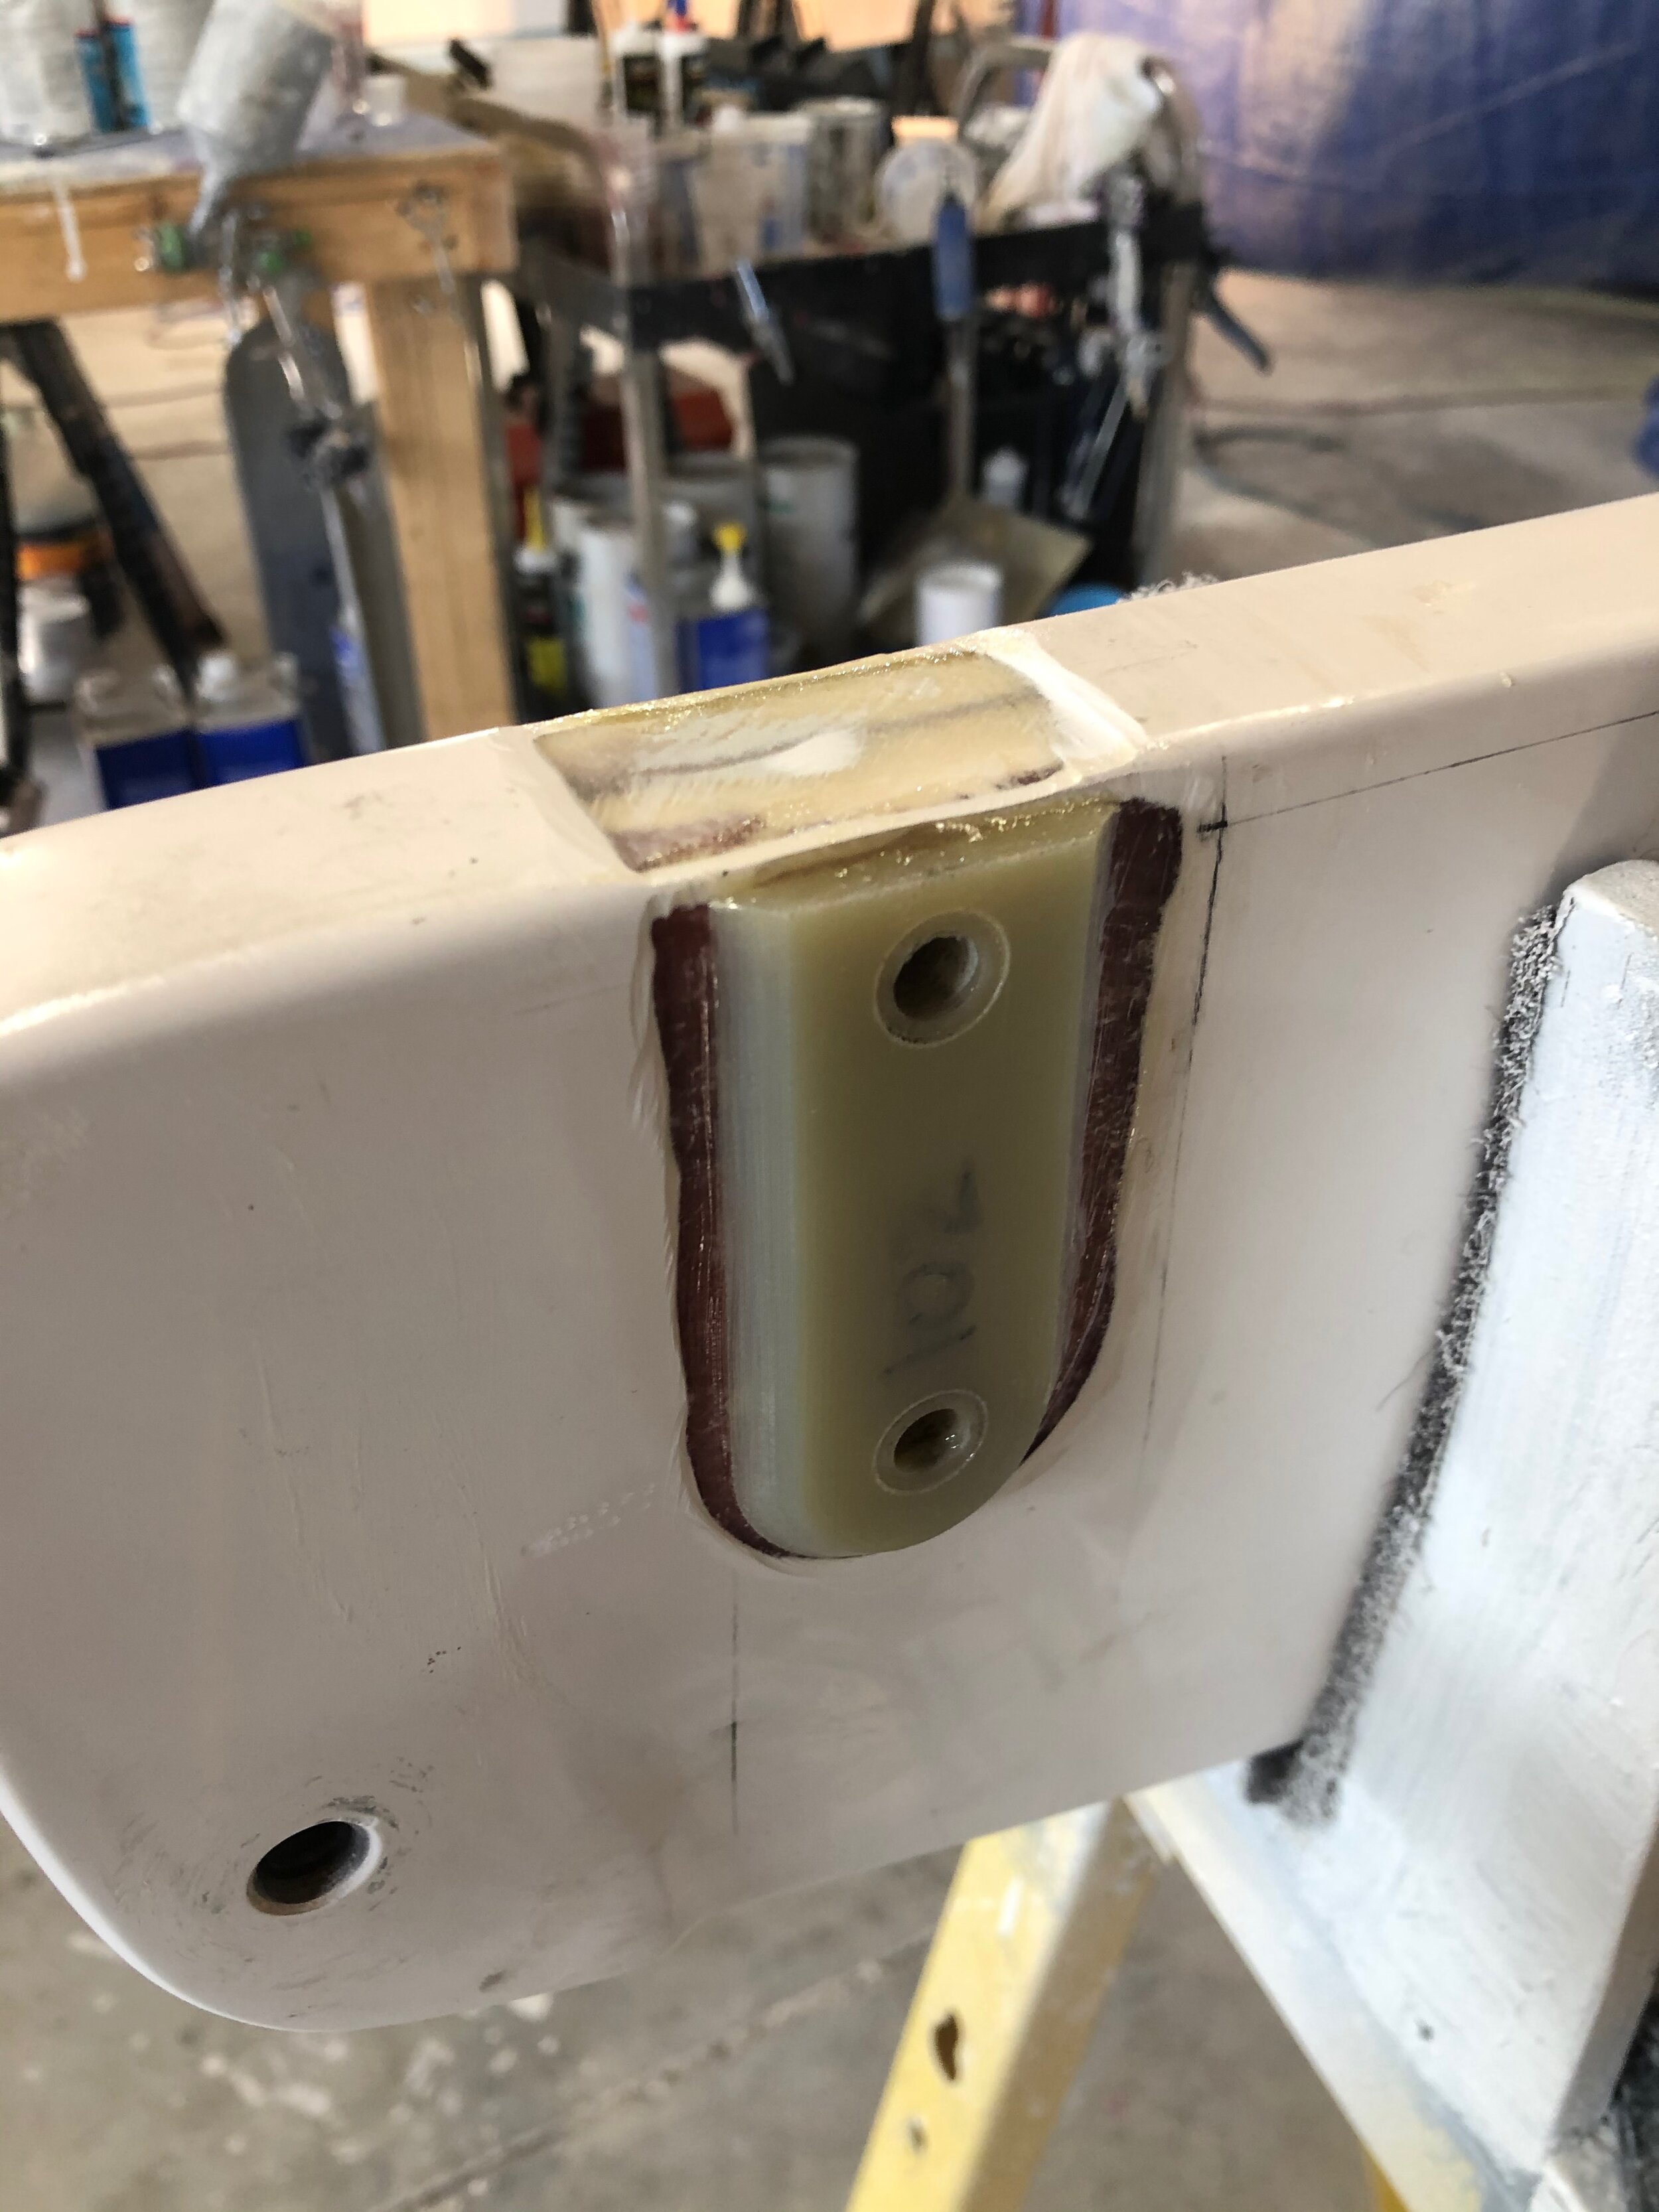
Once the plates are in place, wipe away any excess expoy from the top, as well as any that may have gotten on the top surface of the plates. While the epoxy is curing, slide on the rudder straps and insert the bolts. Once again, using the alignment jig and pin, use a rubber mallet to gently adjust the straps until the jig rotates freely, and the pin is easily goes in and out.
Once you have it all perfectly positioned and aligned wipe away the excess epoxy that oozed out and walk away allowing it to fully cure undisturbed.
Finishing


Once it’s fully cured, remove the hardware and sand off any excess epoxy. Once it’s fairly cleaned up, put the straps back on and check the fit using the jig one more time. If everything lines up and fits nicely, the last step is to apply gelcoat.
Using a rotary tool with an engraving bit, create a groove, or trough around the base of the mounting plates. Using a brush, apply a generous amount of gelcoat to the plates allowing it to cover the sides and fill the trough around the base.
Depending on the condition of your rudder, this may be a good opportunity to sand down the entire rudder head and re-coat it by either brushing or spraying.
Sail22 is known as the leading expert in J/70 sailboats for J/70 parts, rigging, updates and repairs. Feel free to reach out to us with any questions so we can guide you as you upgrade your J/70 sailboat.